Cardboard Automata
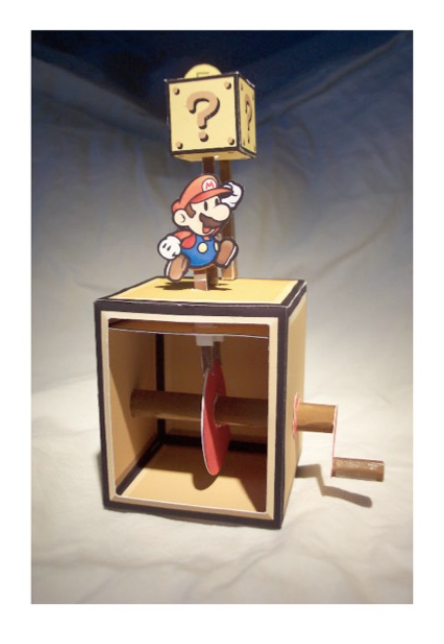
My goal was to make a simple automata. I prototype it with paper first.
Making Process
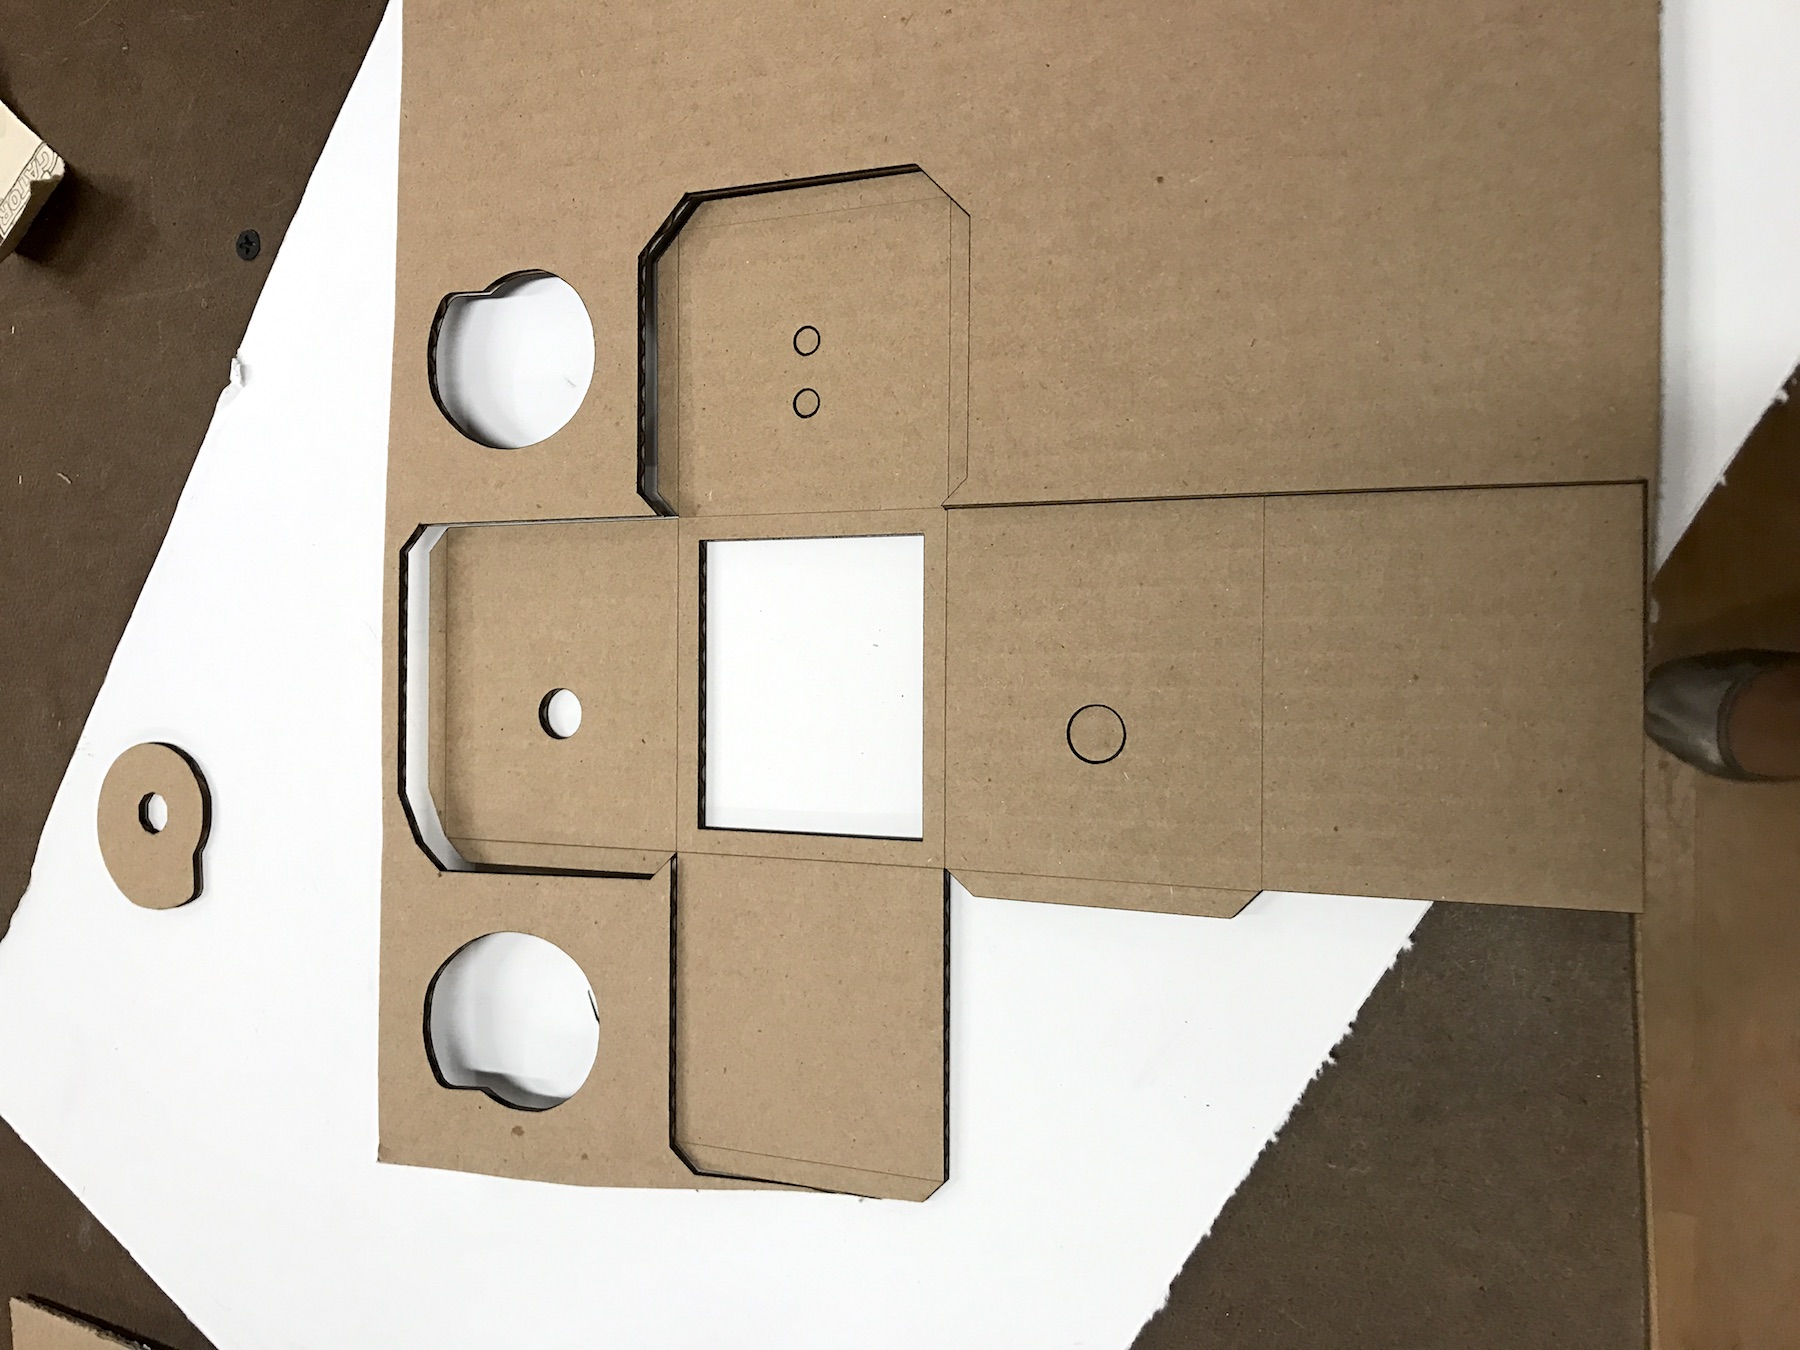
I started the making process by translating the paper design into a format for laser cutter. I am currently learning Vectorworks, so used it for it.
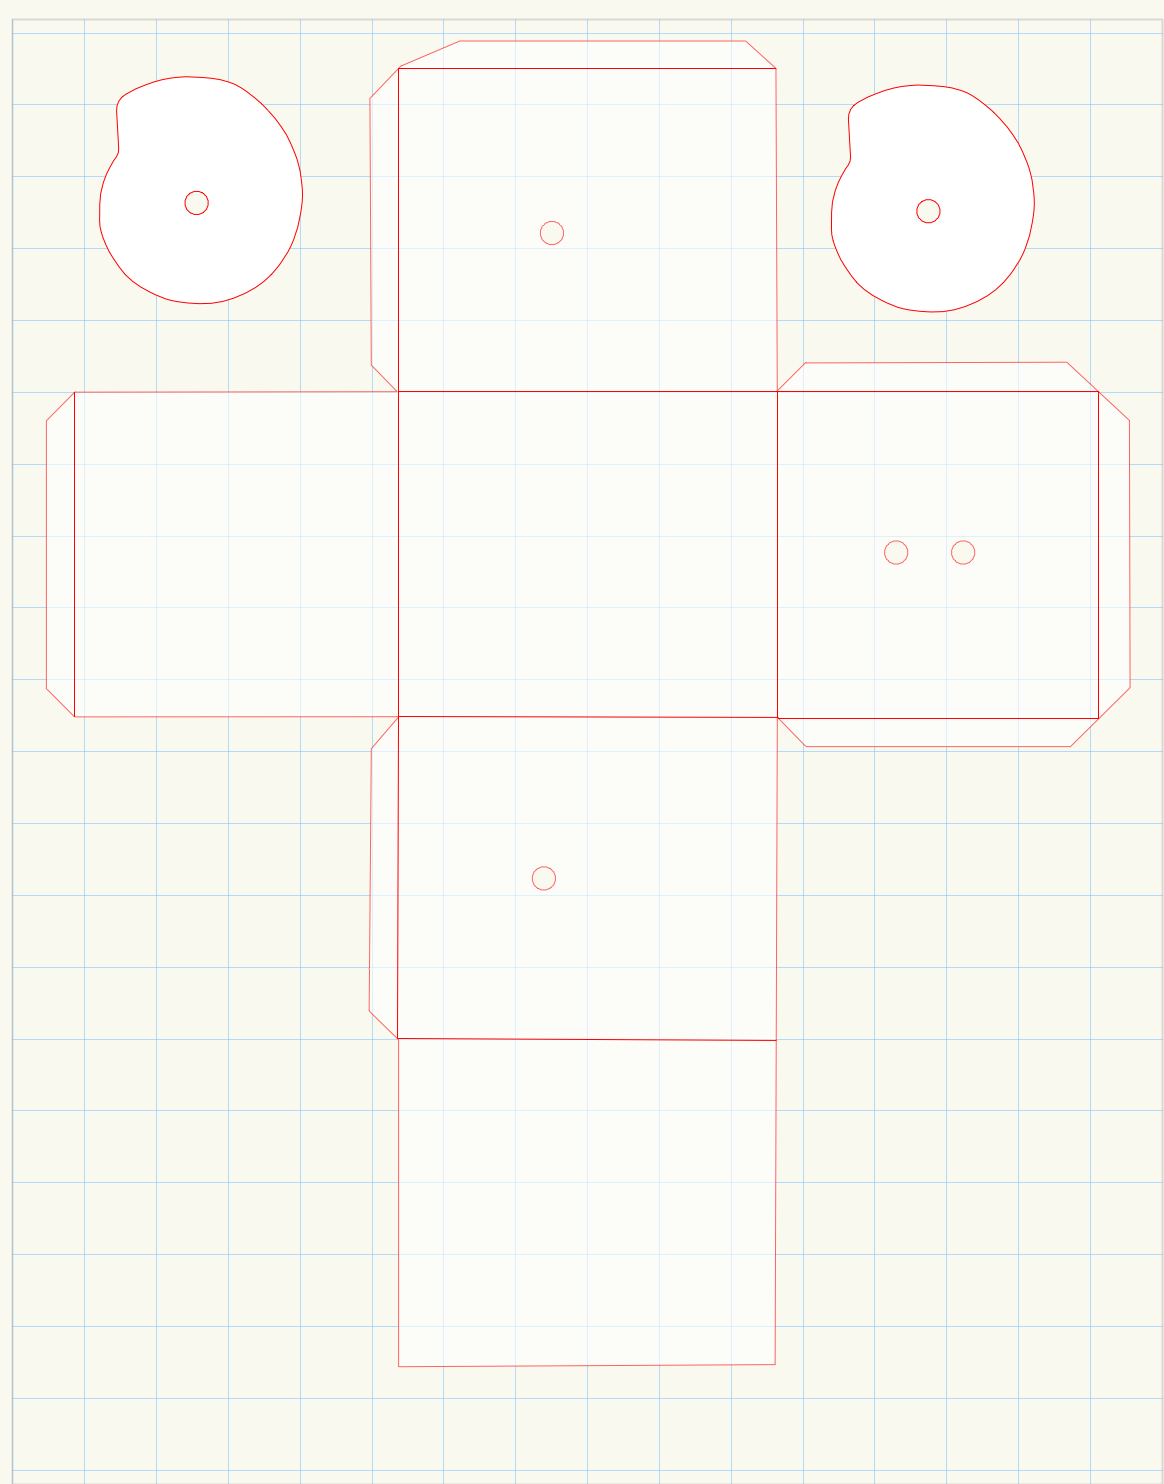
Once I have the Vectorworks files, I tried to convert it to illustrator file. I ran into problem with the file not printing. The .ai file would open, and with correct line width (0.1 pt), color( RGB: 255, 0 ,0), and setting (auto focus: on, width: 12 inches, height: 11 inches, speed: 20%, power: 40%, frequency: 500 for 50W laser cutter); however, the job would start and end right way. I asked multiple shop staffs’ and classmates’ help. After hours of trying to fix the .ai file, I decided to export it differently, and that made the problem much easier to solve.
After I cut out the box design, folding it become a problem, because I didn’t account for the thickness of the new material.
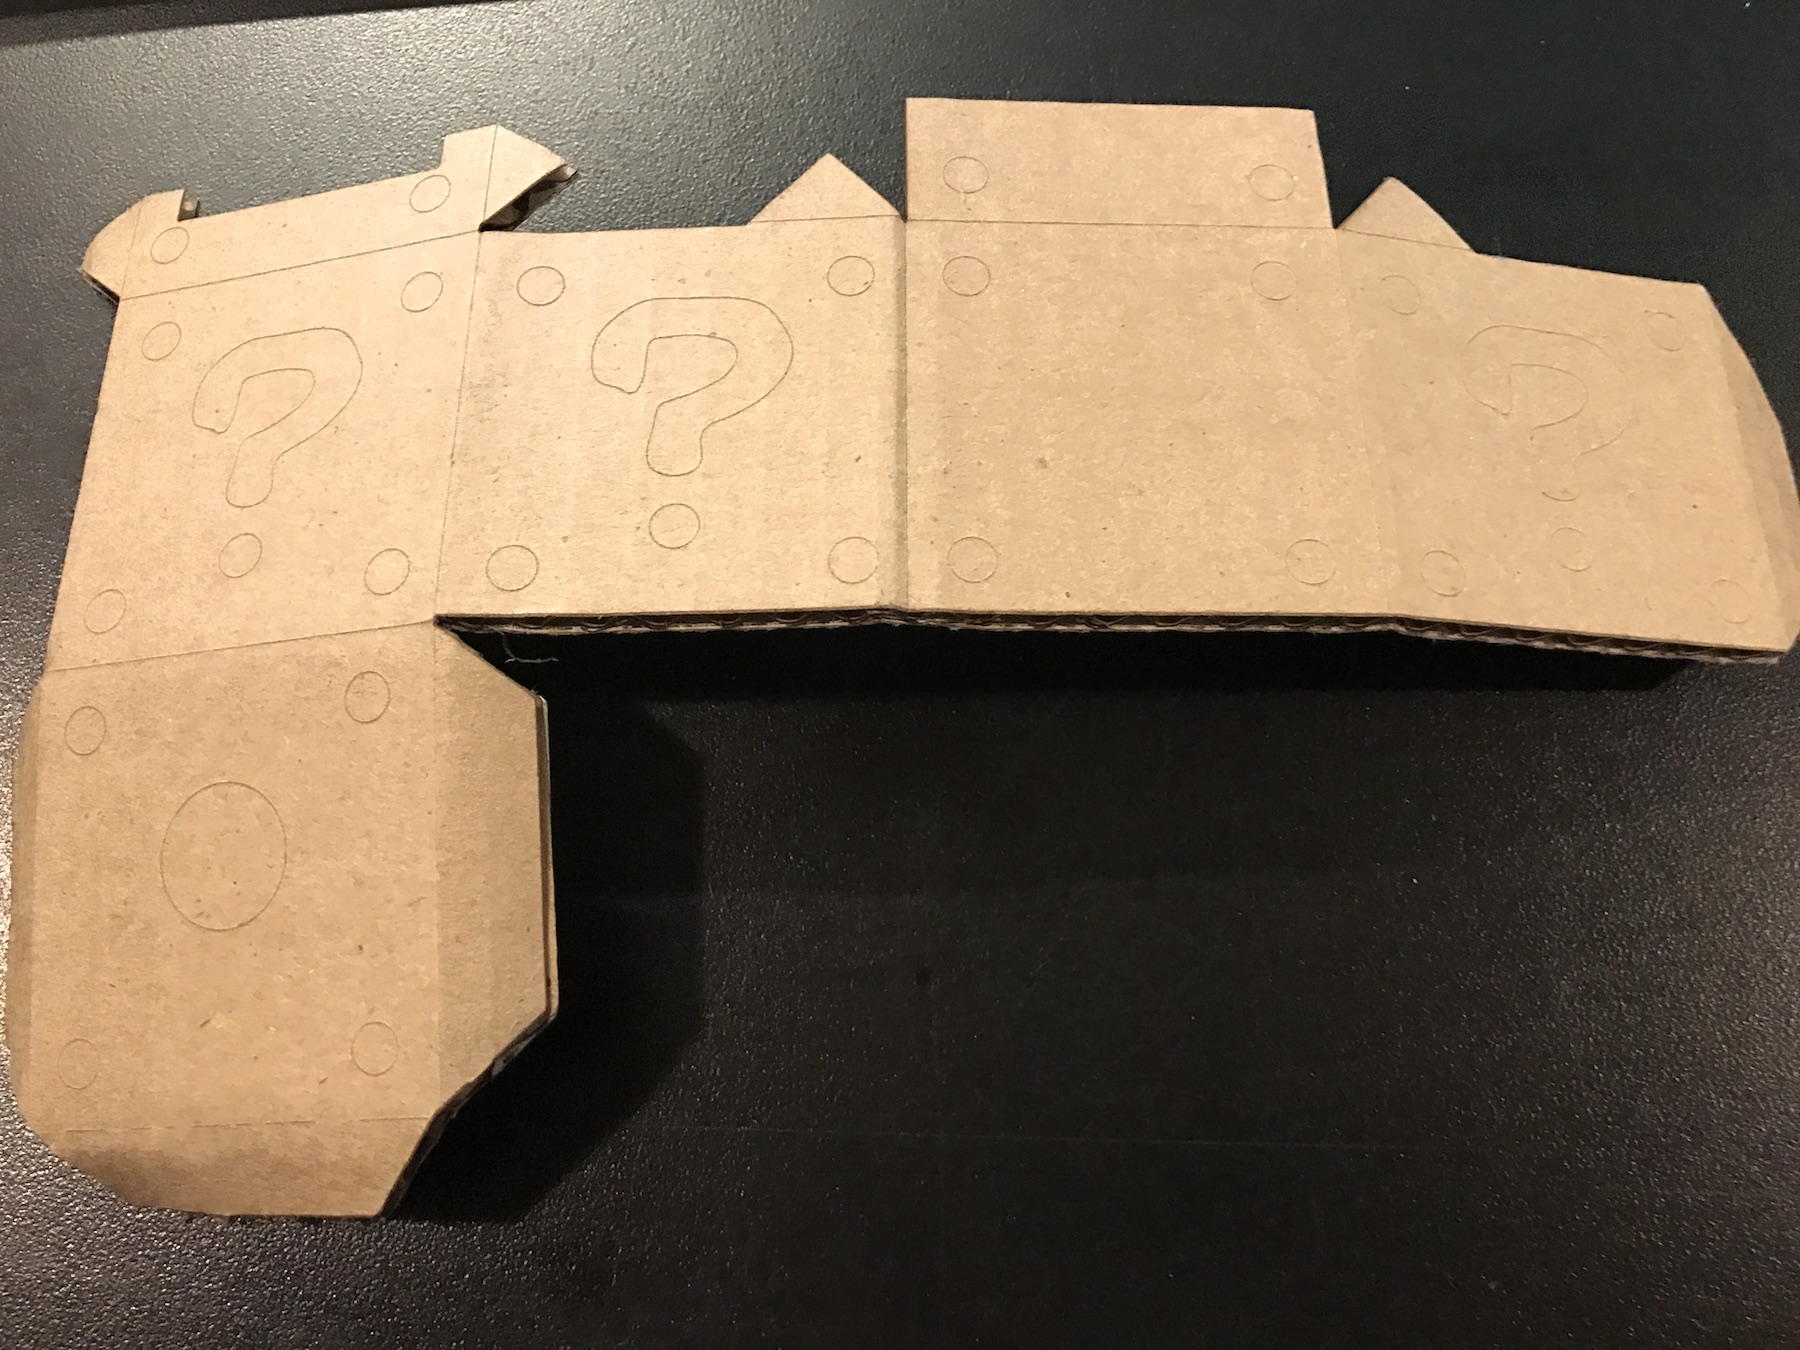
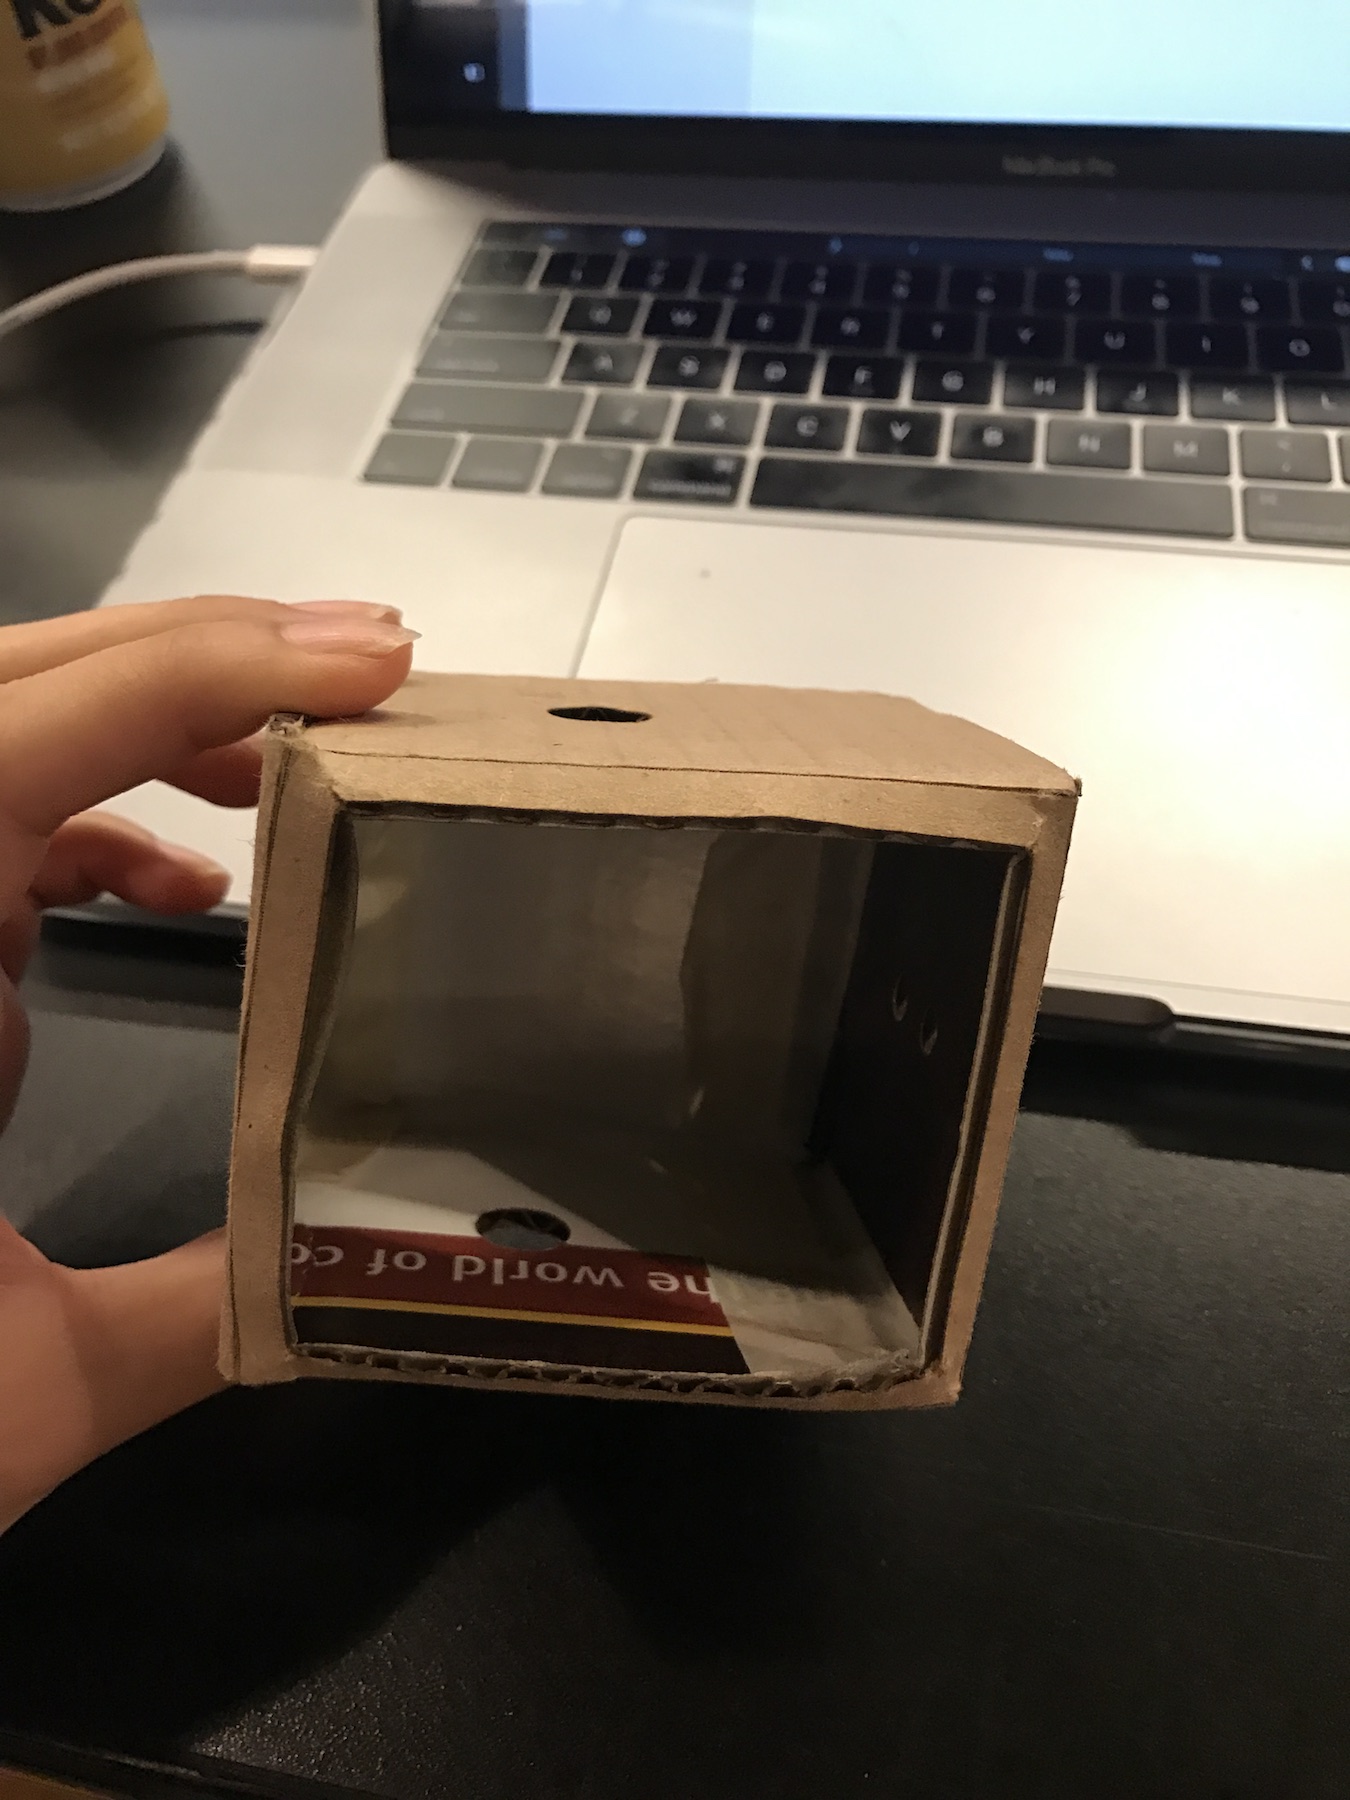
I tried to resolve it by using finger joints. I made changes in Vectorworks. Although importing file is not an issue anymore, the scale of the objects would change during importing.

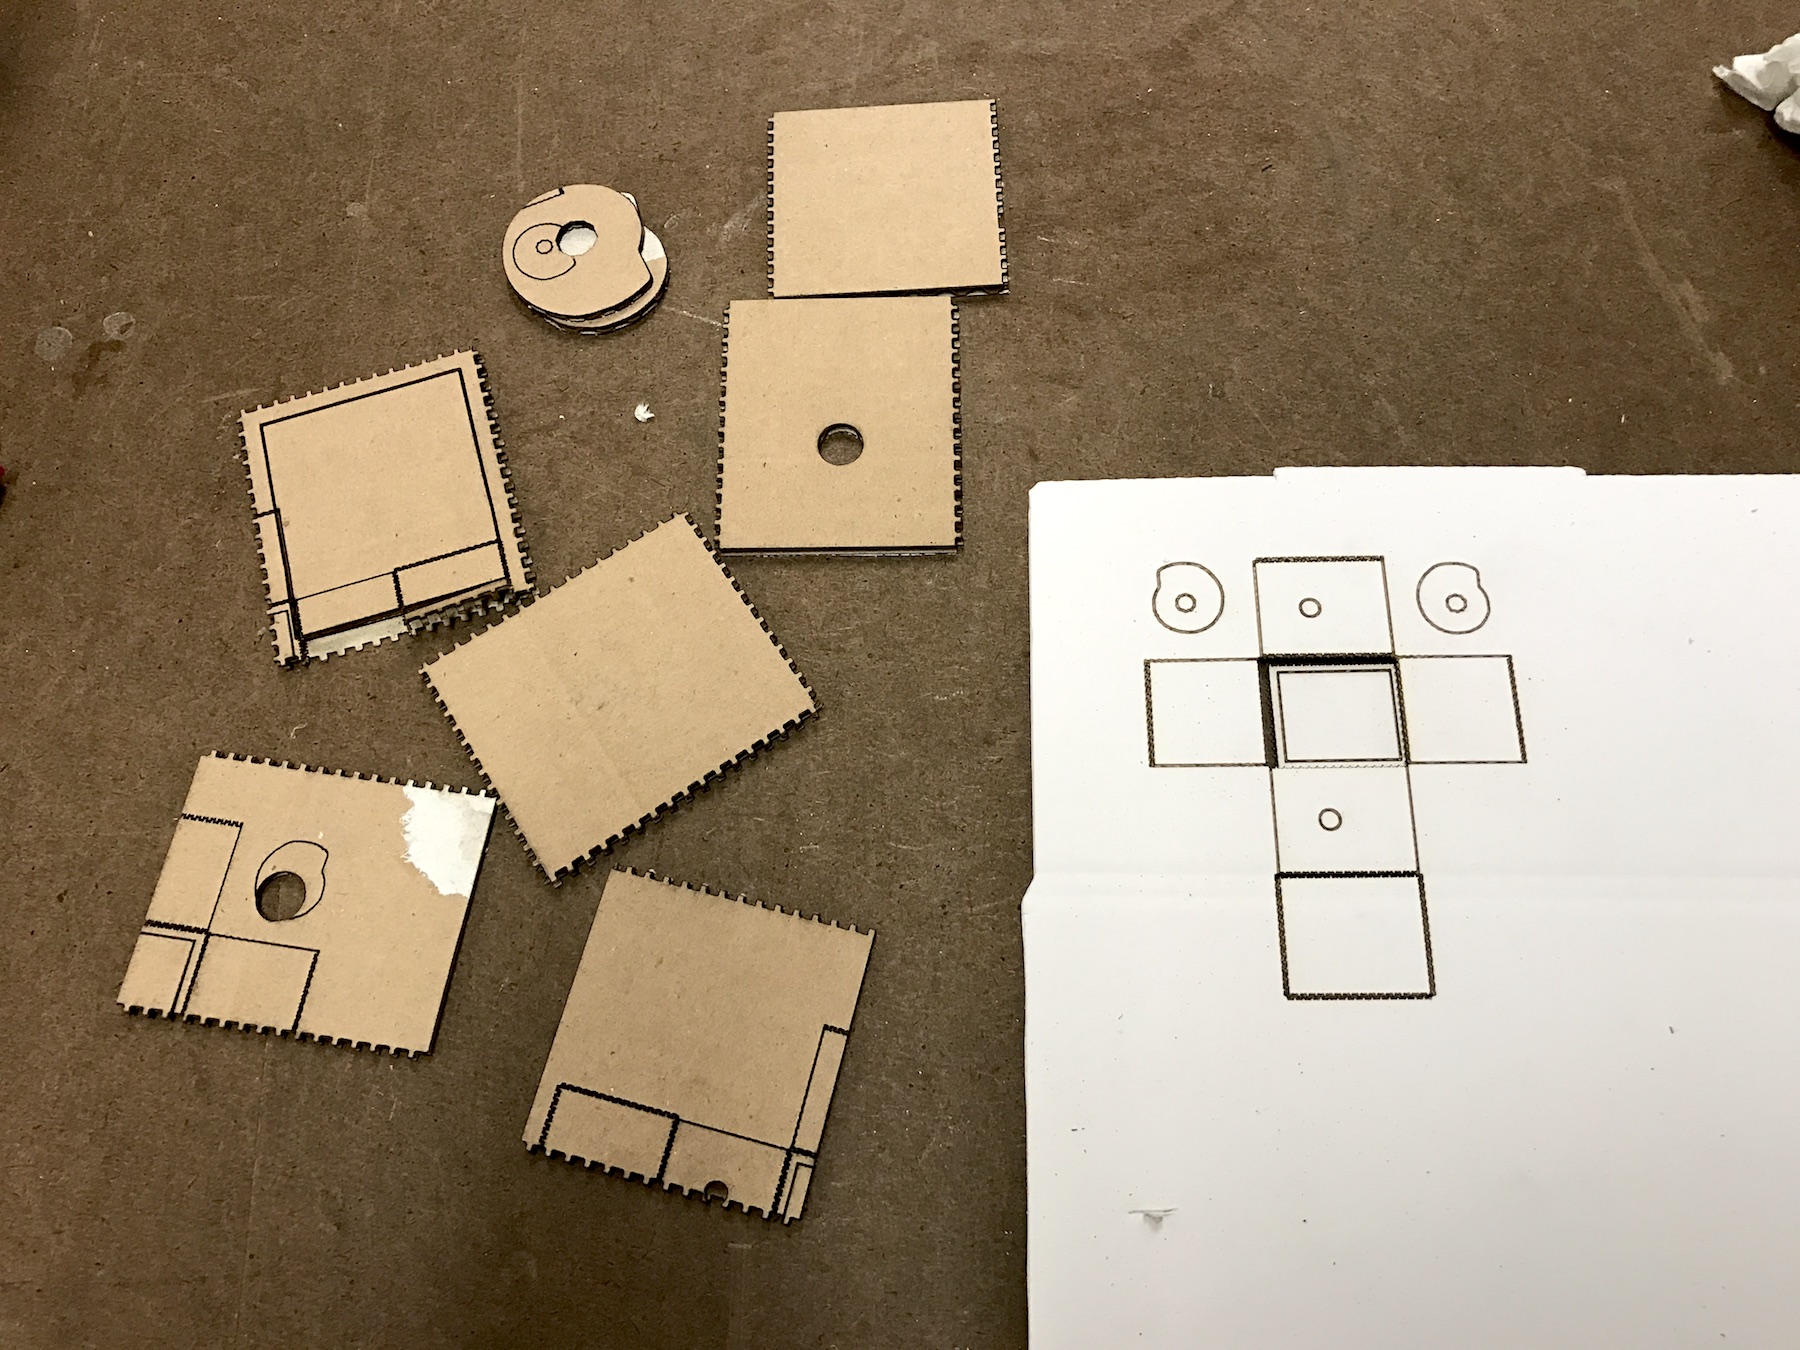
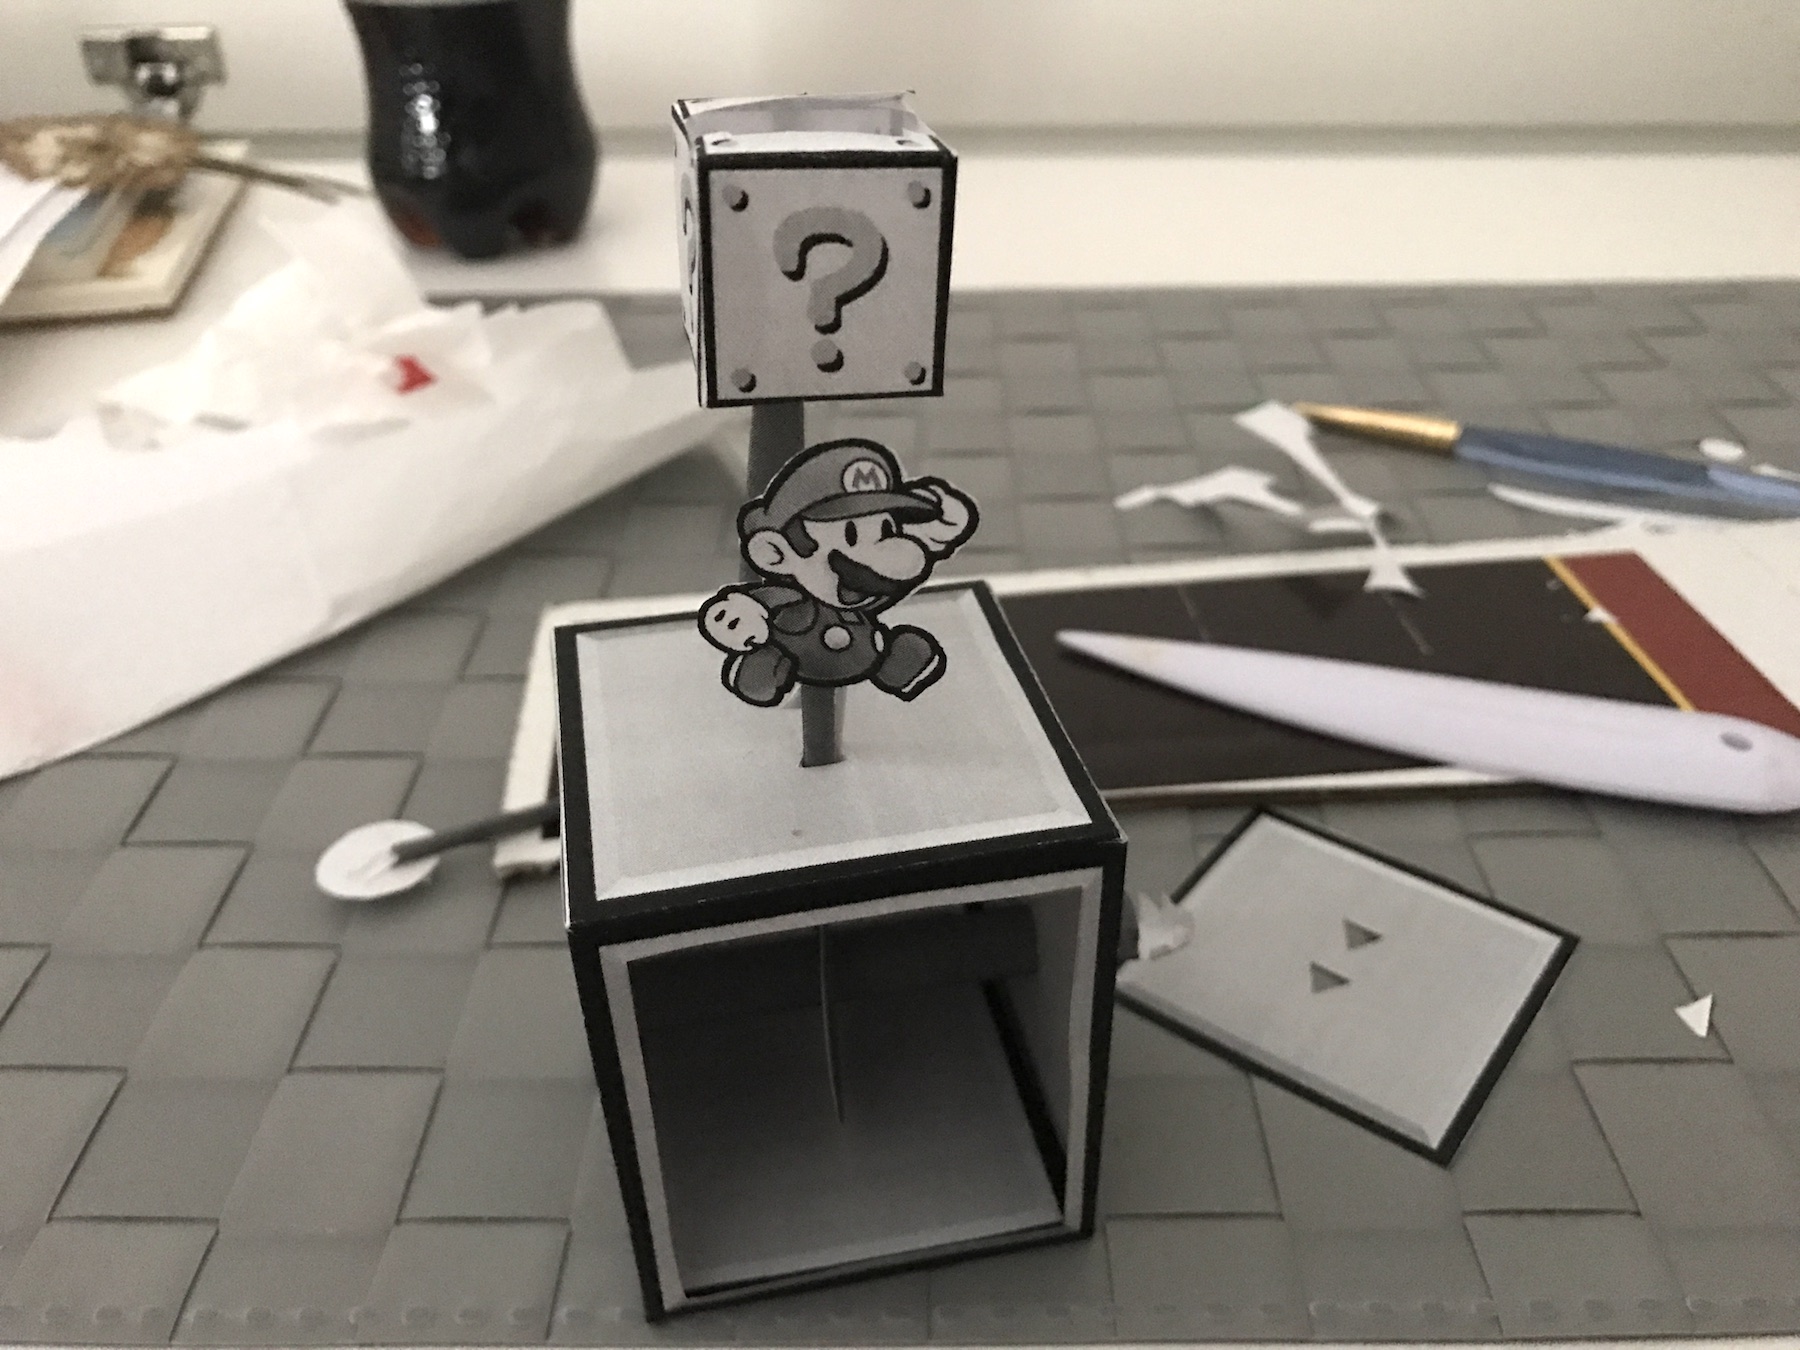
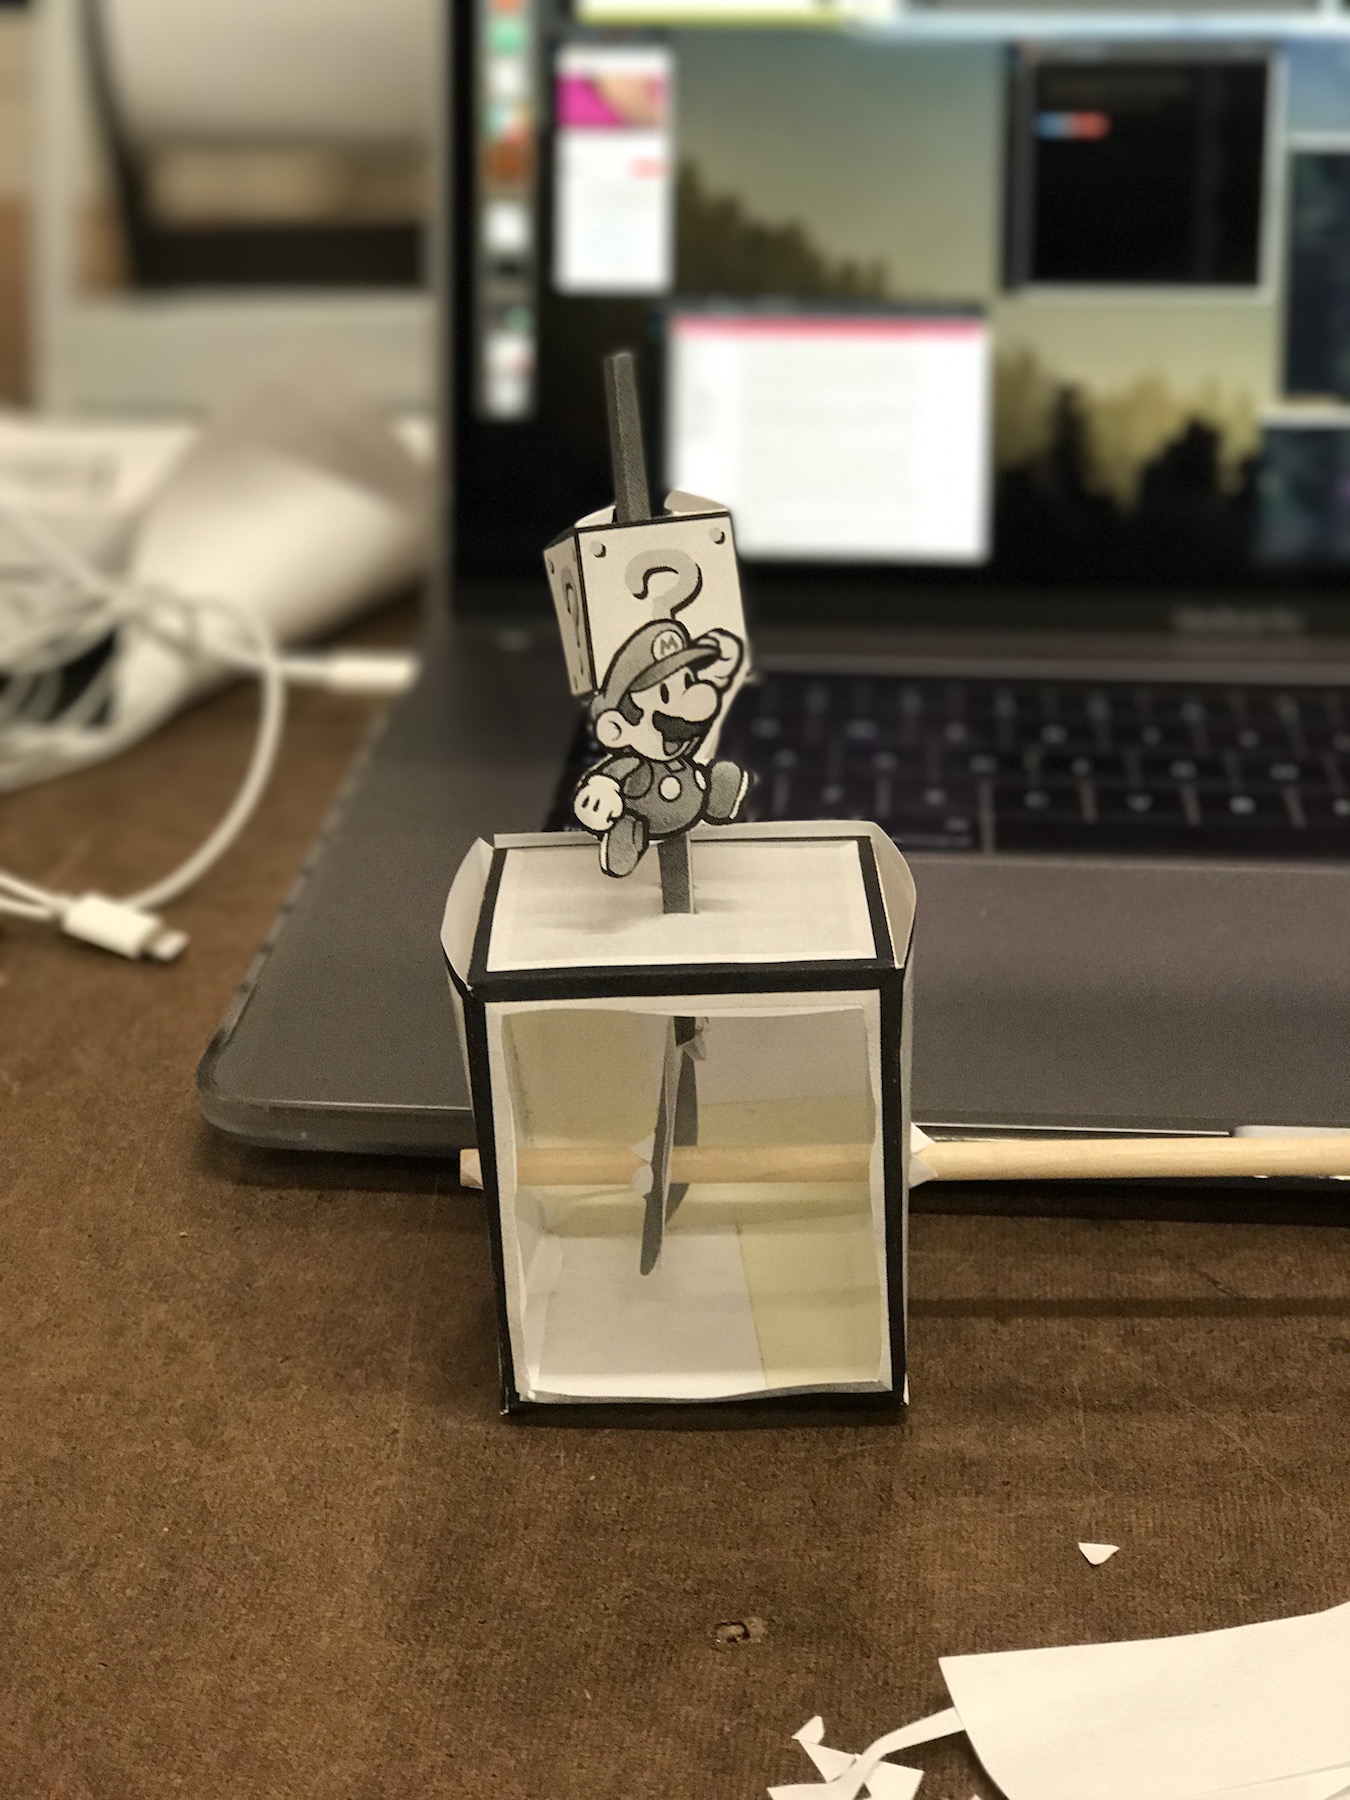
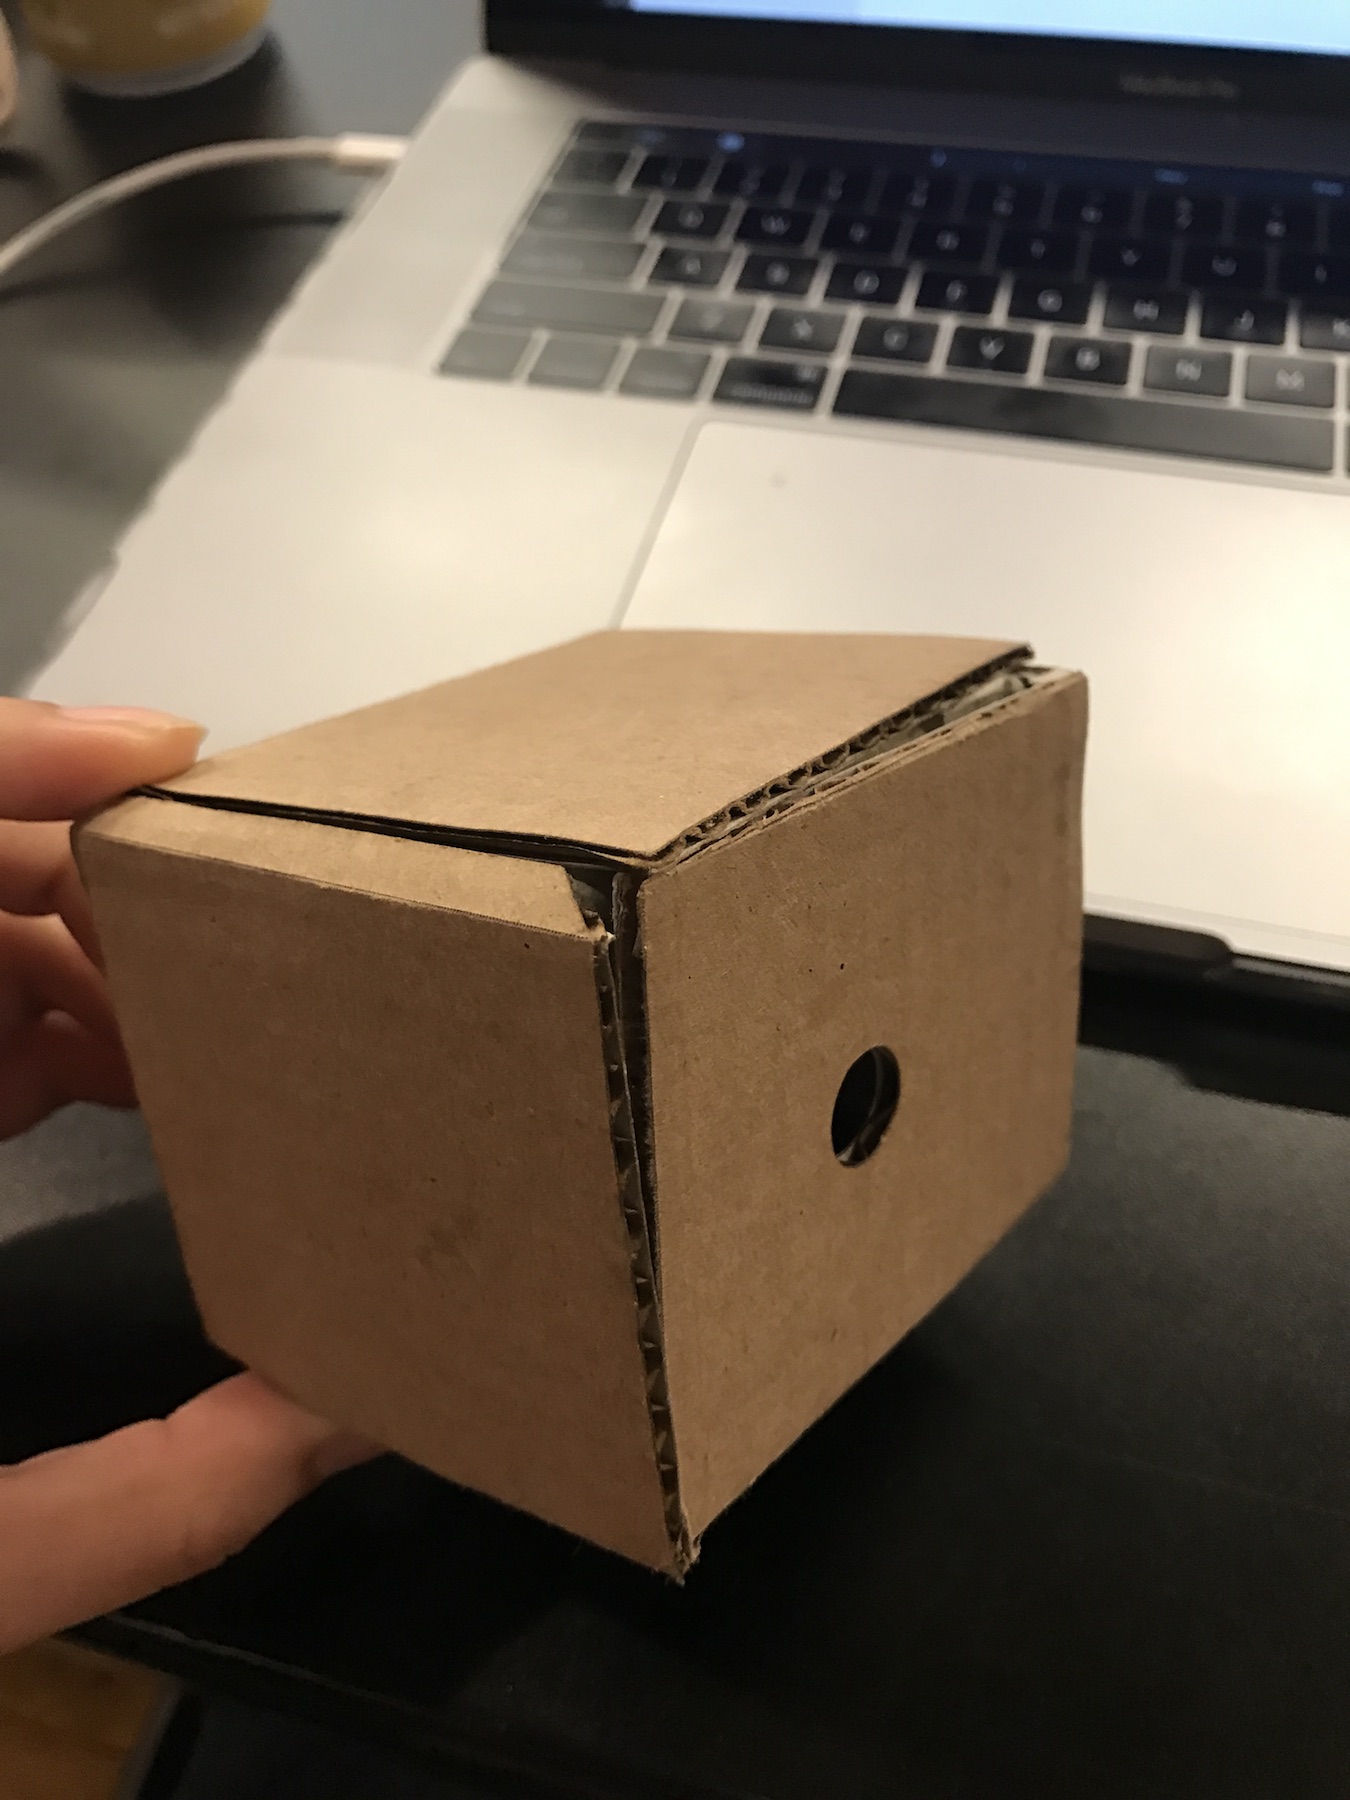
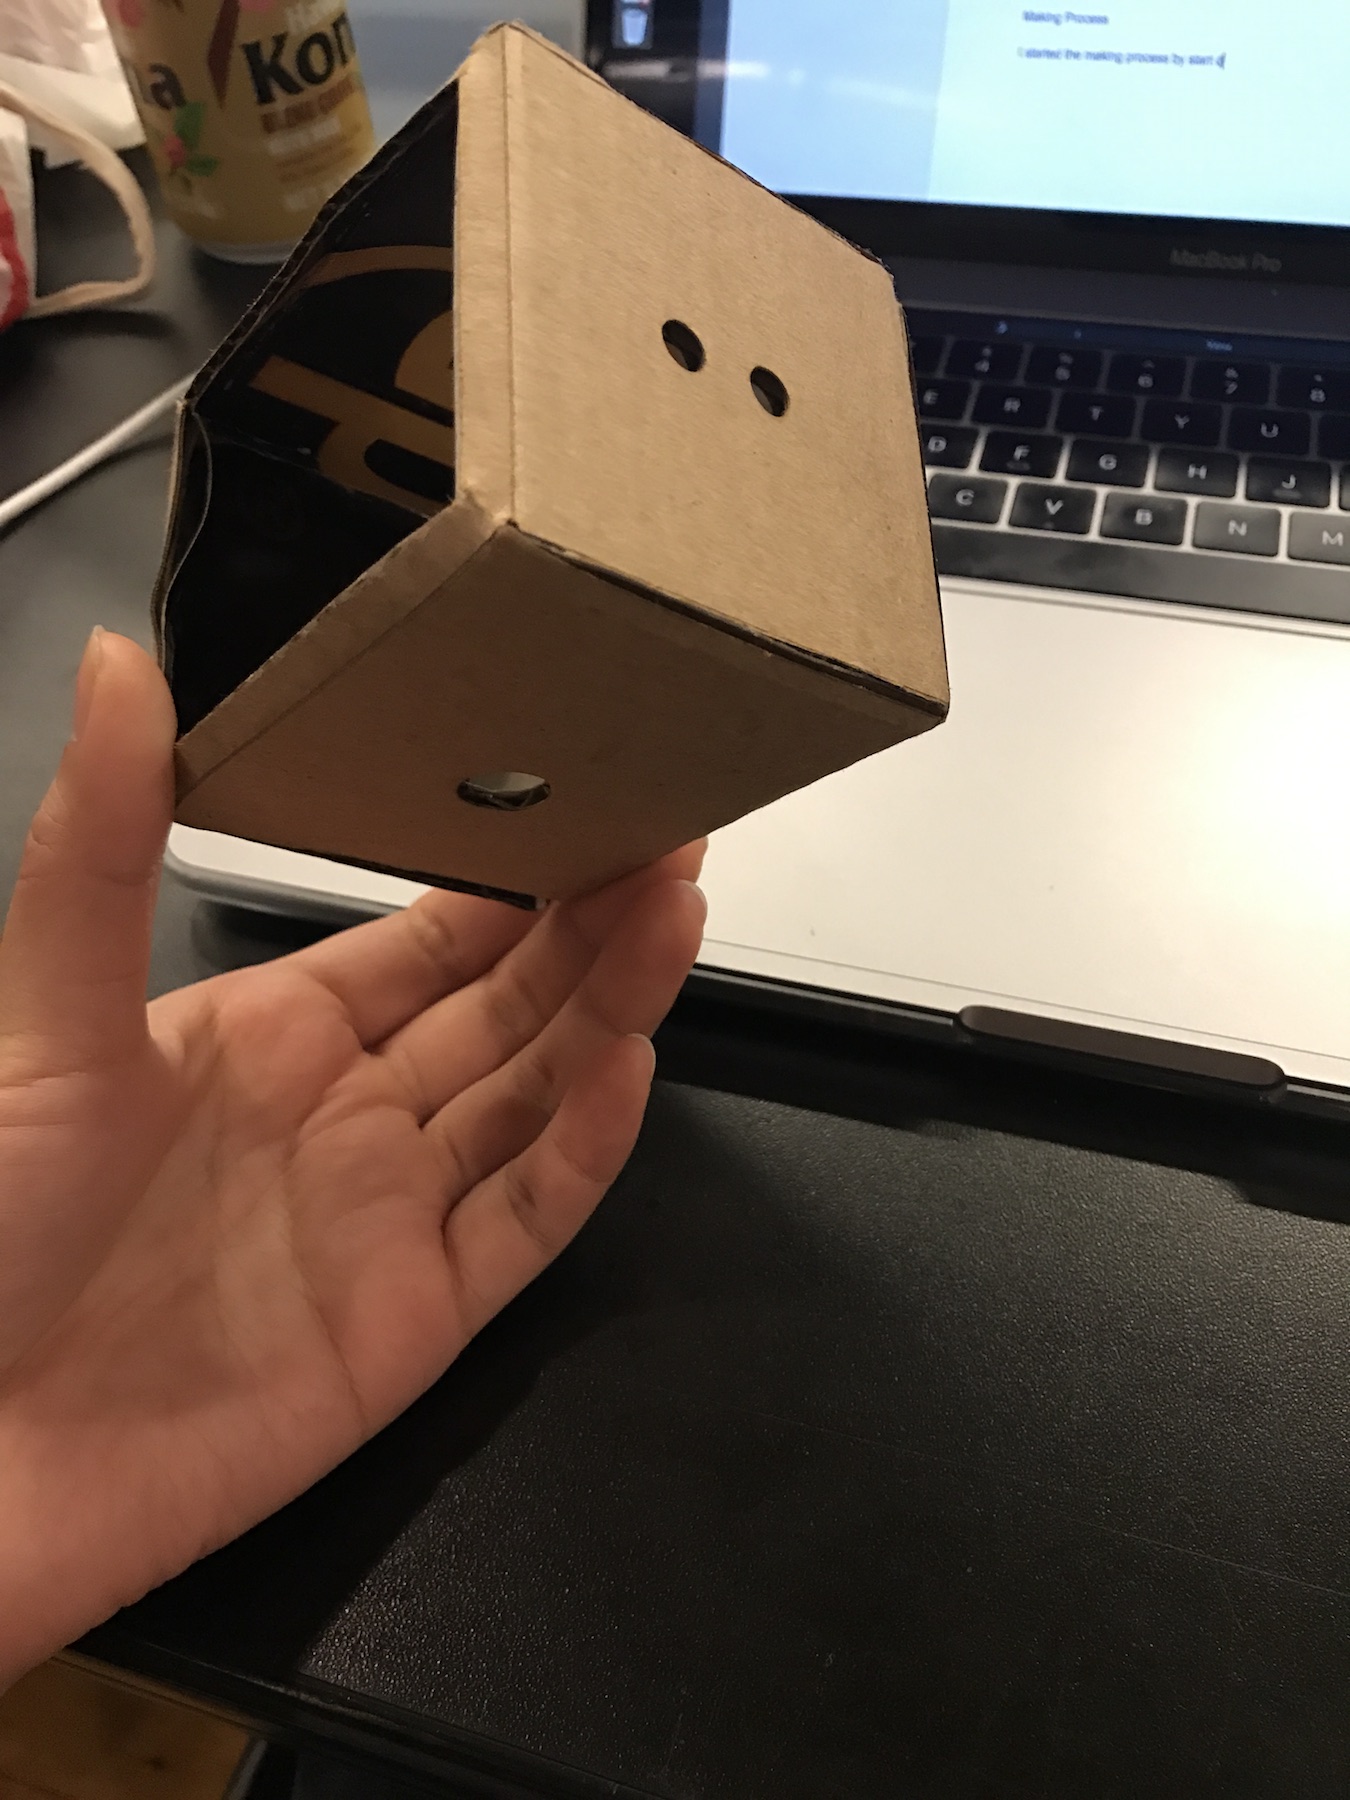
This is what I have right now.
Plan To Finish
I did not finish my goal this week. I feel disappointed. I also learned I have to plan my time and projects with a realistic standard. I plan to try more way to laser cut a box or an enclosure for the automata. Also I will spend time to think and design the automata for cardboard, rather than translate a design meant for paper to cardboard.
To be continued.