Jumping Cat Automata
My goal was to make a simple servo powered automata. I prototype it with paper first.
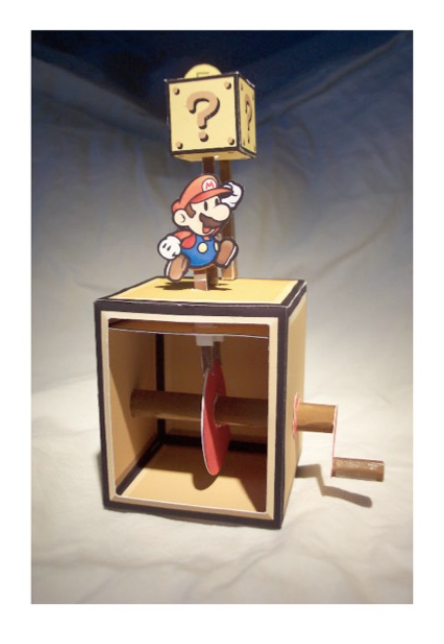
Making Process
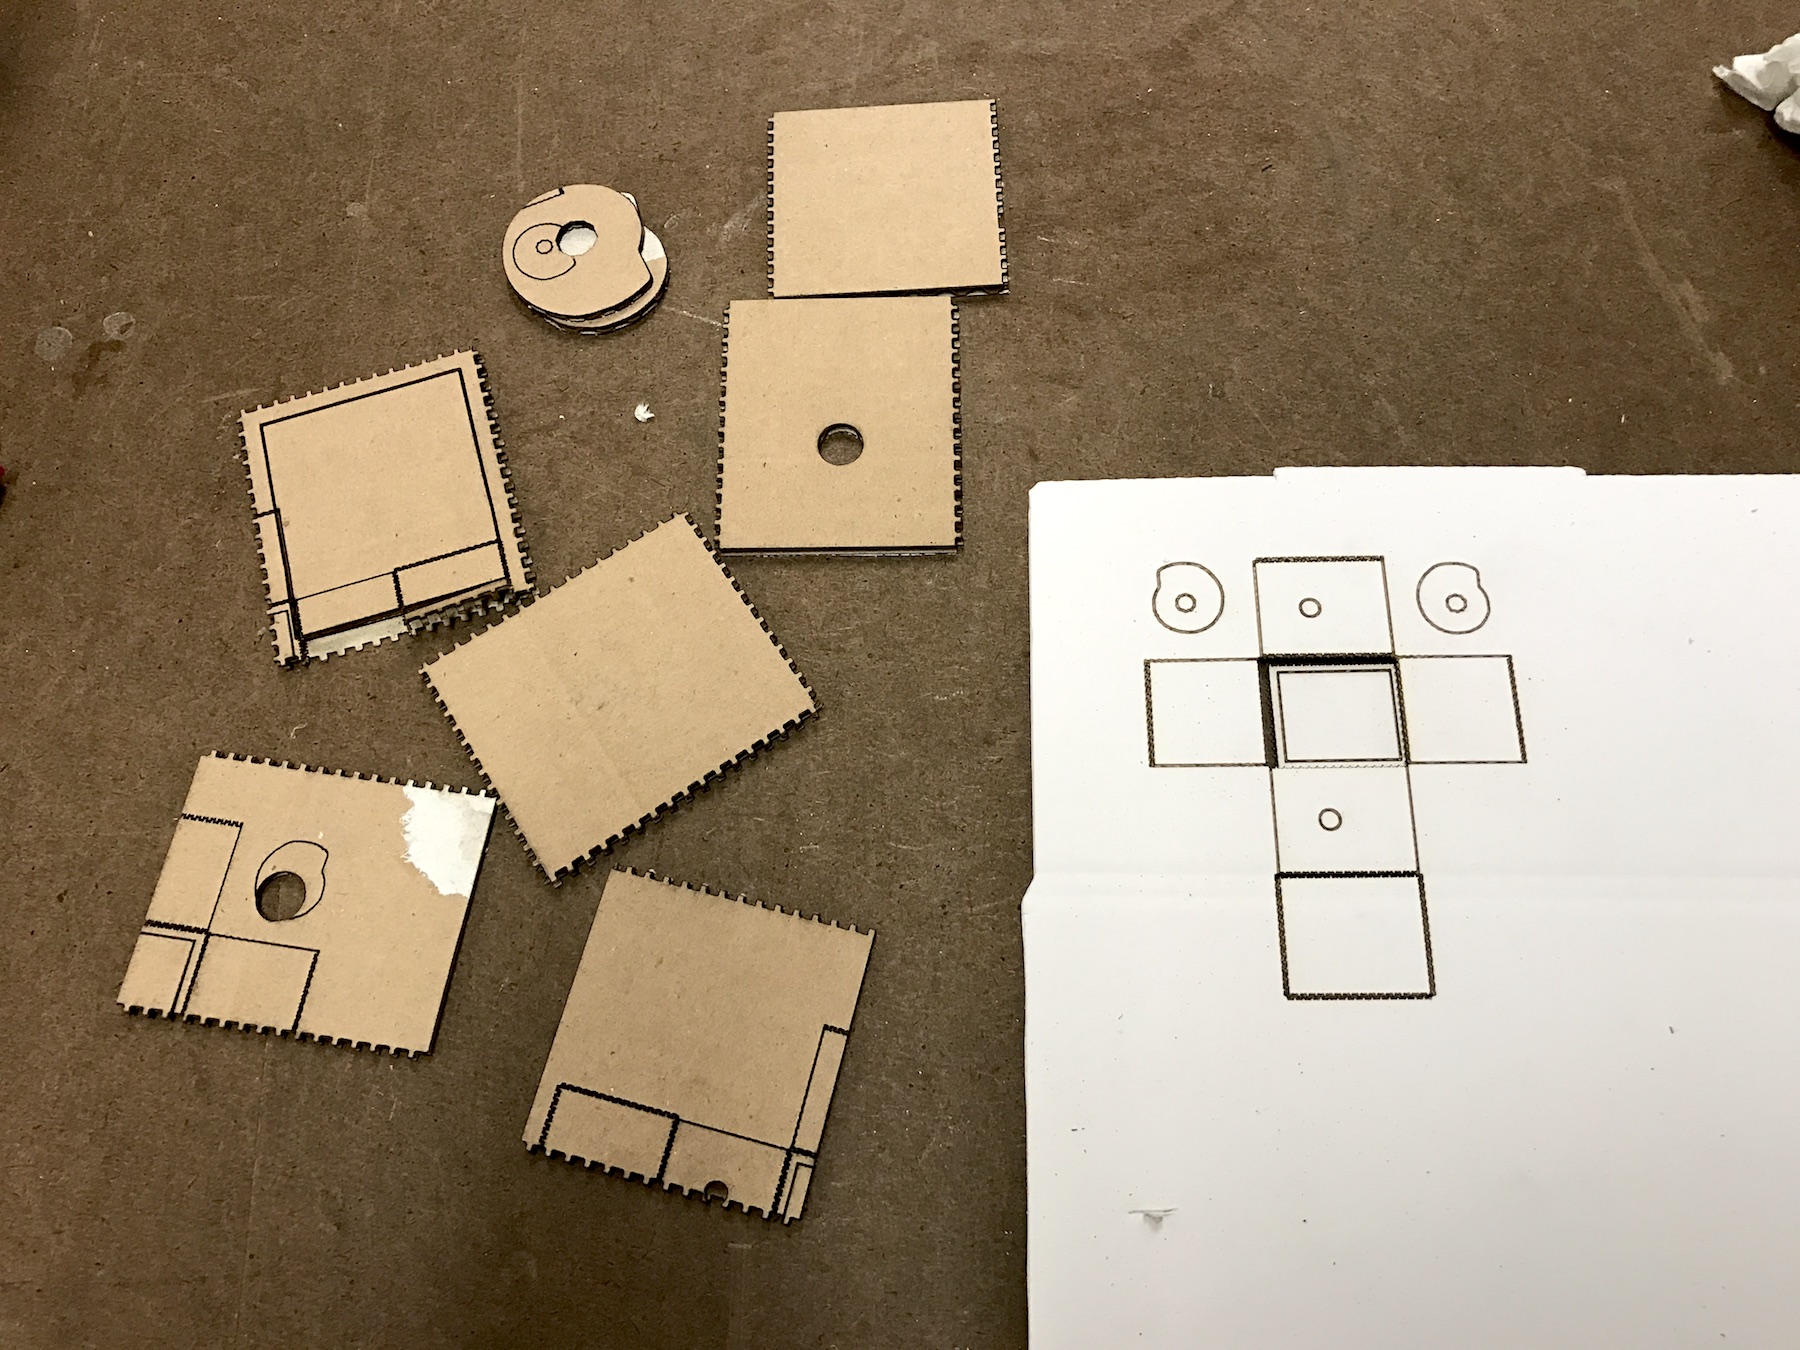
I started the making process by translating the paper design into a format for laser cutter. I am currently learning Vectorworks, so used it for it.
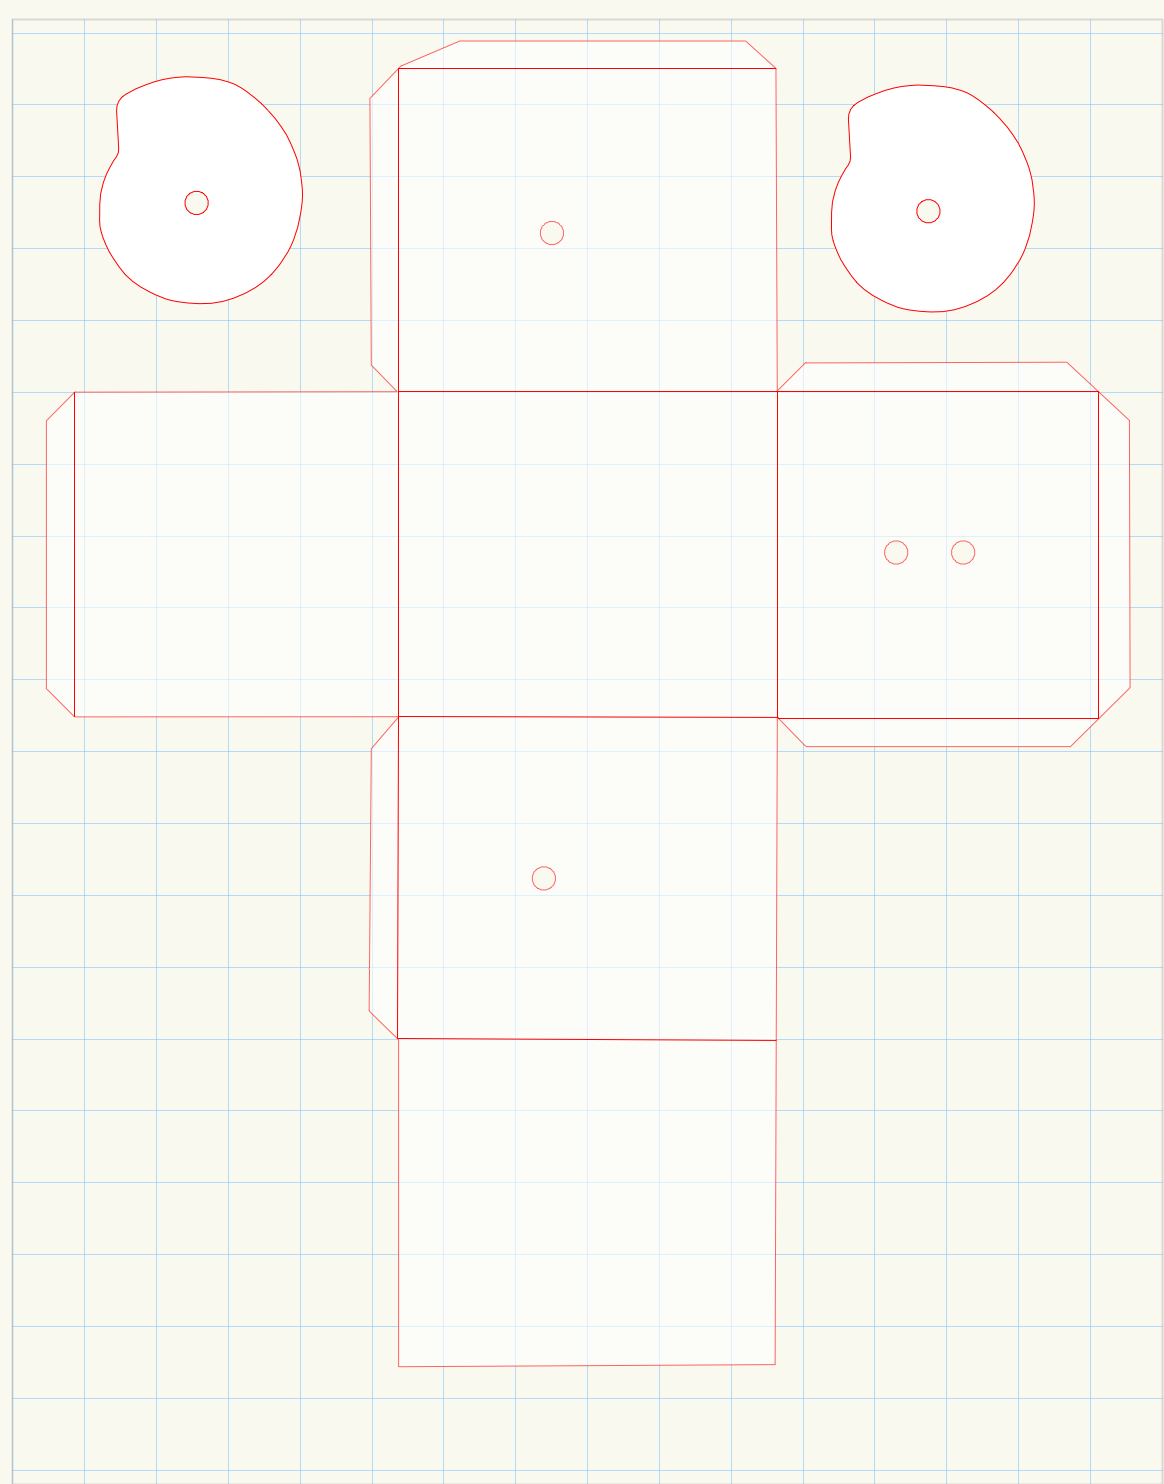
Once I have the Vectorworks files, I tried to convert it to illustrator file. I ran into problem with the file not printing. The .ai file would open, and with correct line width (0.1 pt), color( RGB: 255, 0 ,0), and setting (auto focus: on, width: 12 inches, height: 11 inches, speed: 20%, power: 40%, frequency: 500 for 50W laser cutter); however, the job would start and end right way. I asked multiple shop staffs’ and classmates’ help. After hours of trying to fix the .ai file, I decided to export it differently, and that made the problem much easier to solve.
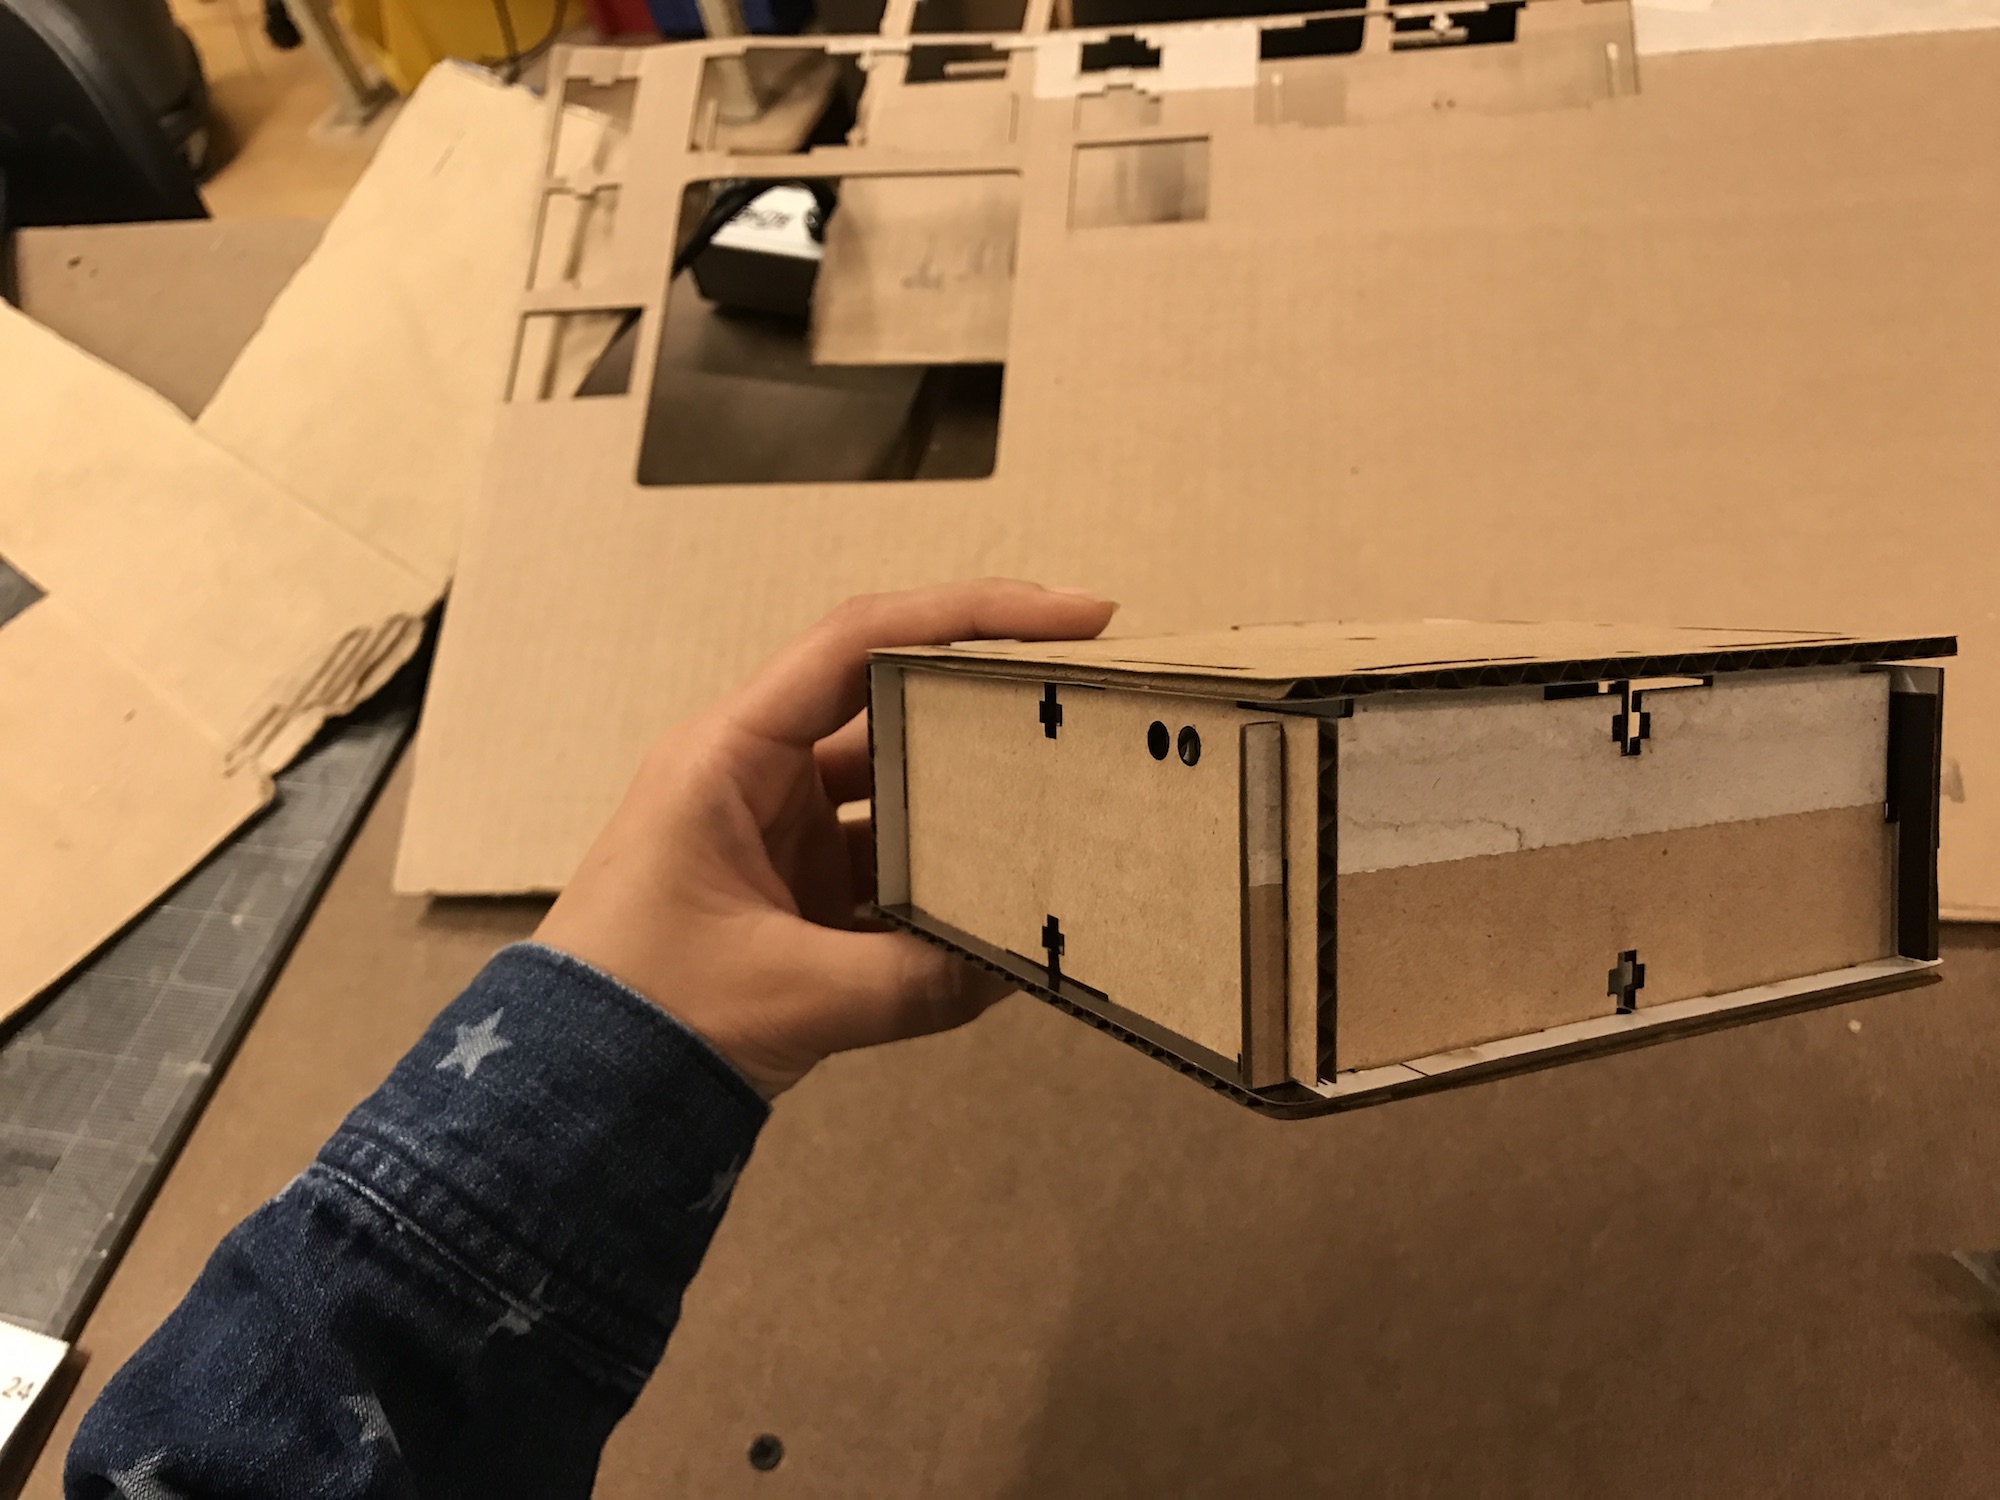
After I cut out the box design, folding it become a problem, because I didn’t account for the thickness of the new material.
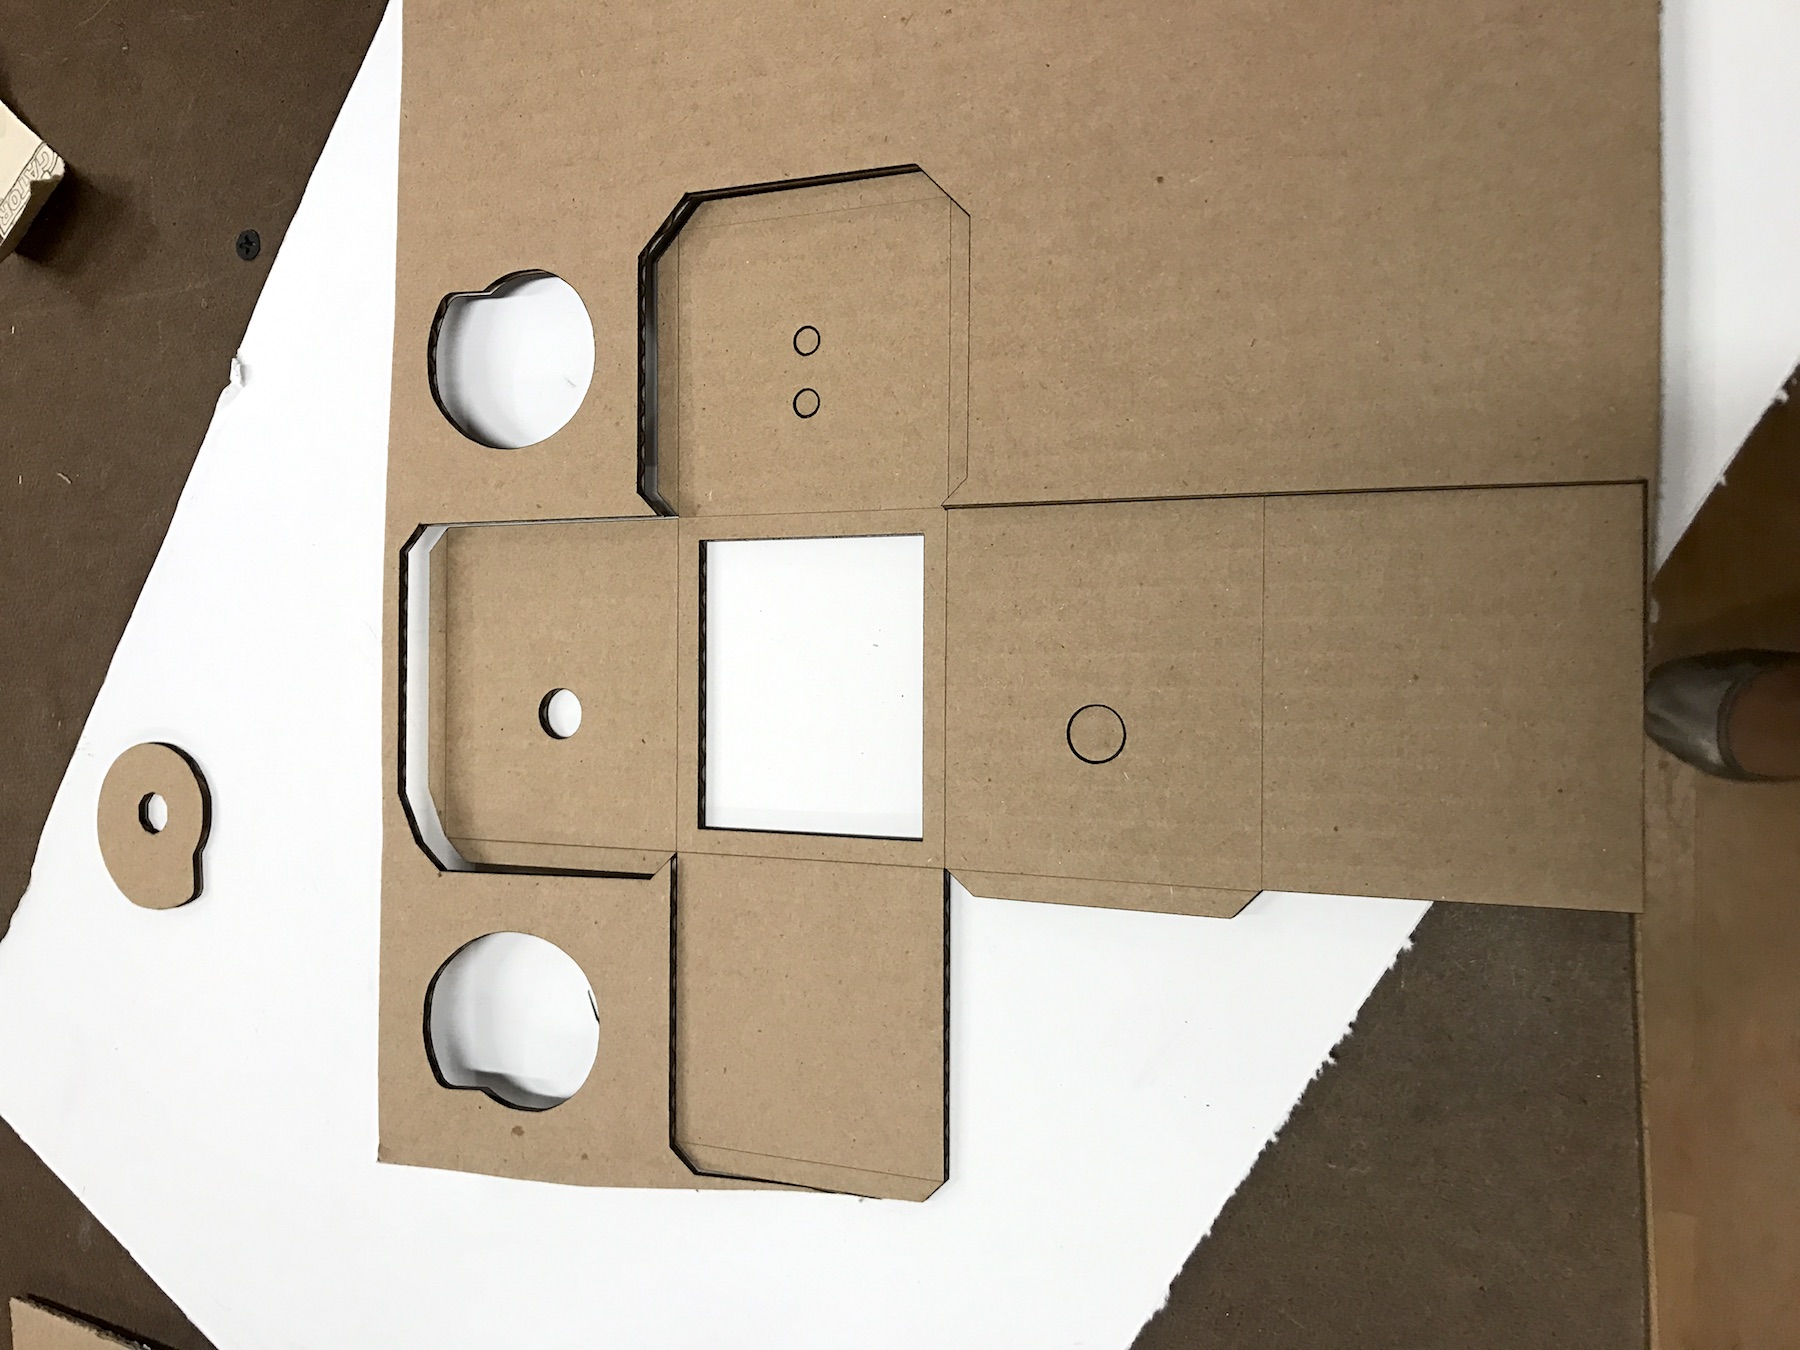
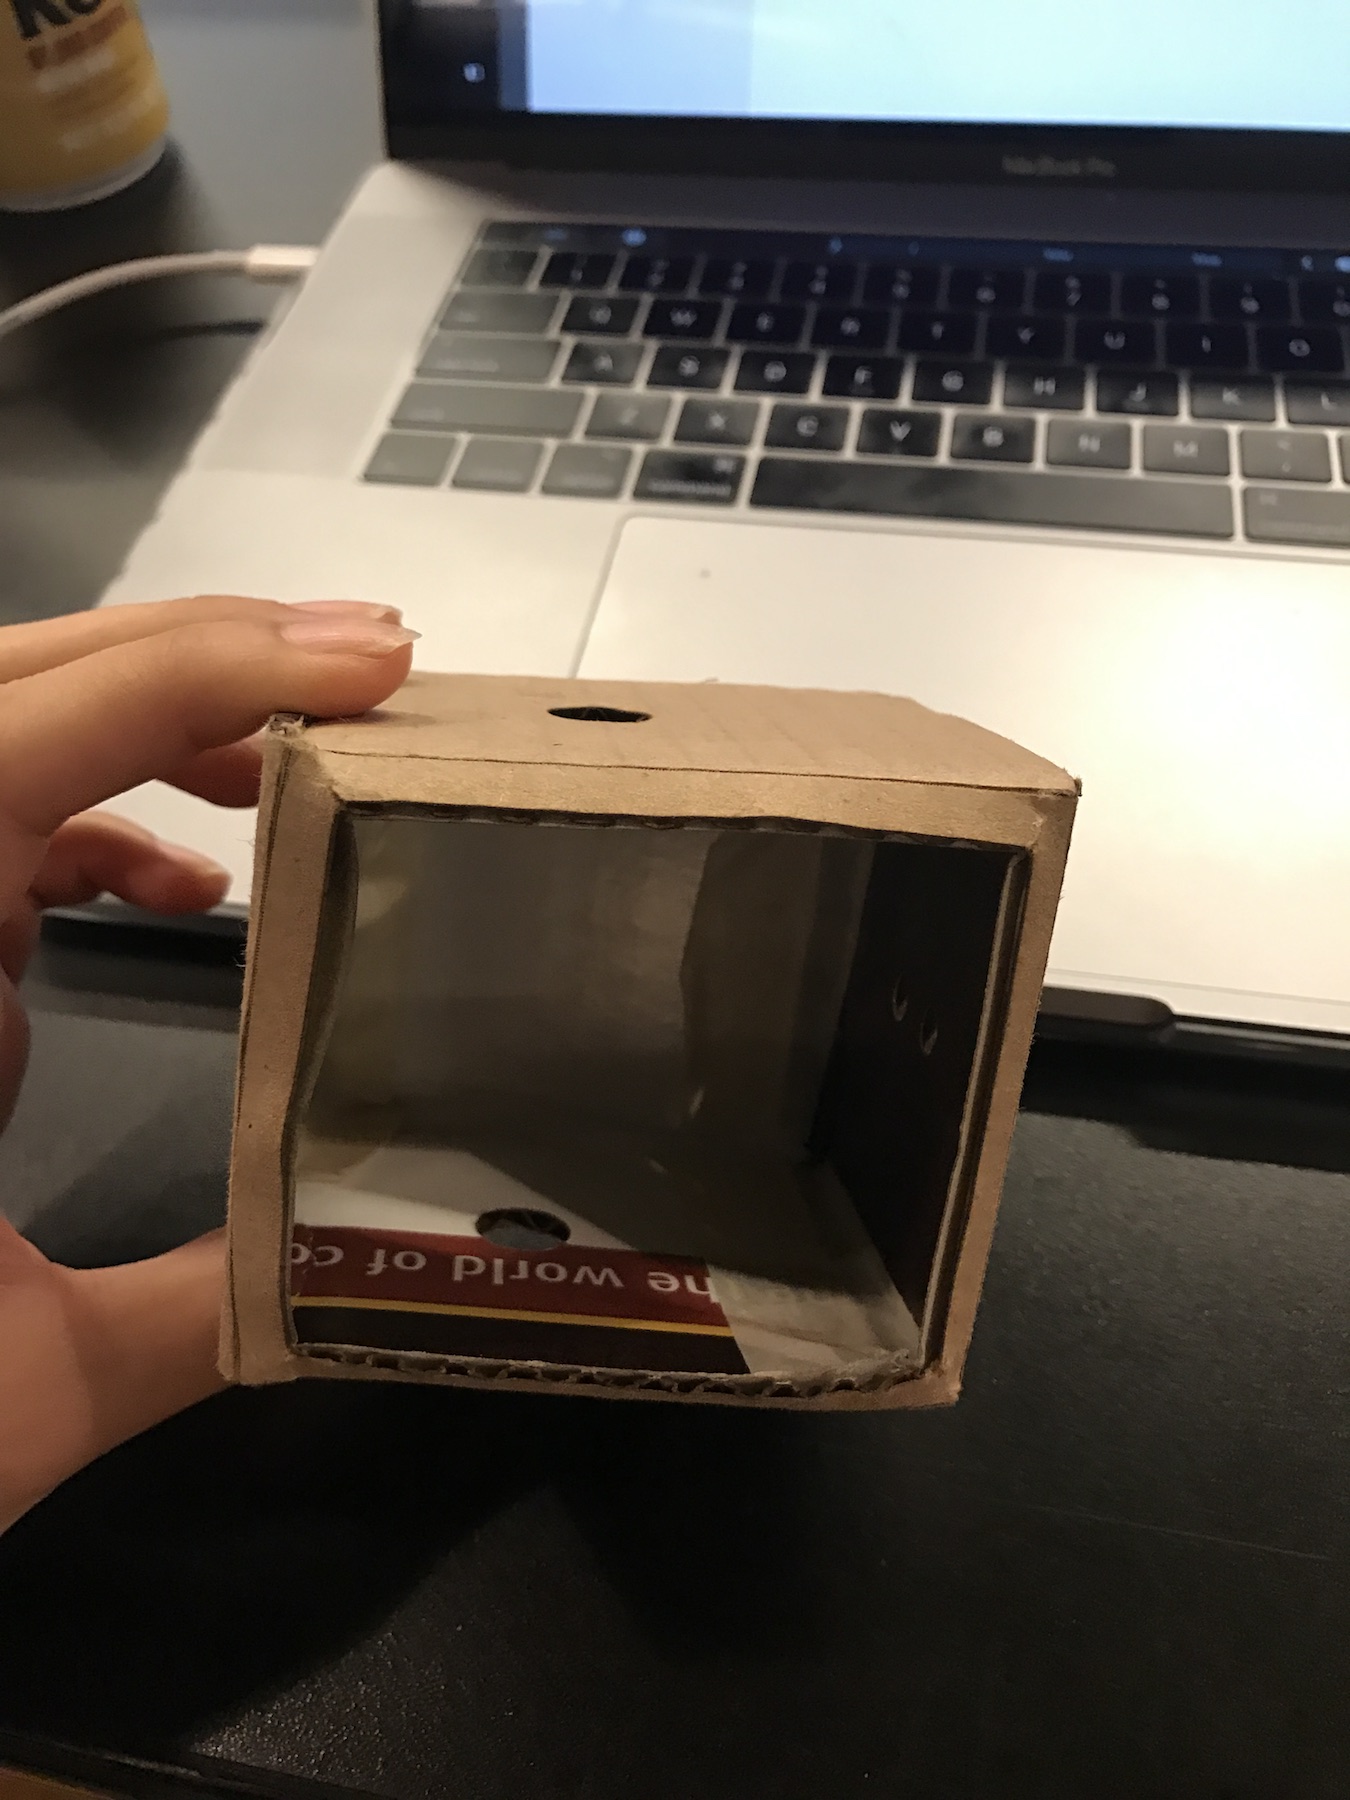
I tried to resolve it by using finger joints. I made changes in Vectorworks. Although importing file is not an issue anymore, the scale of the objects would change during importing.

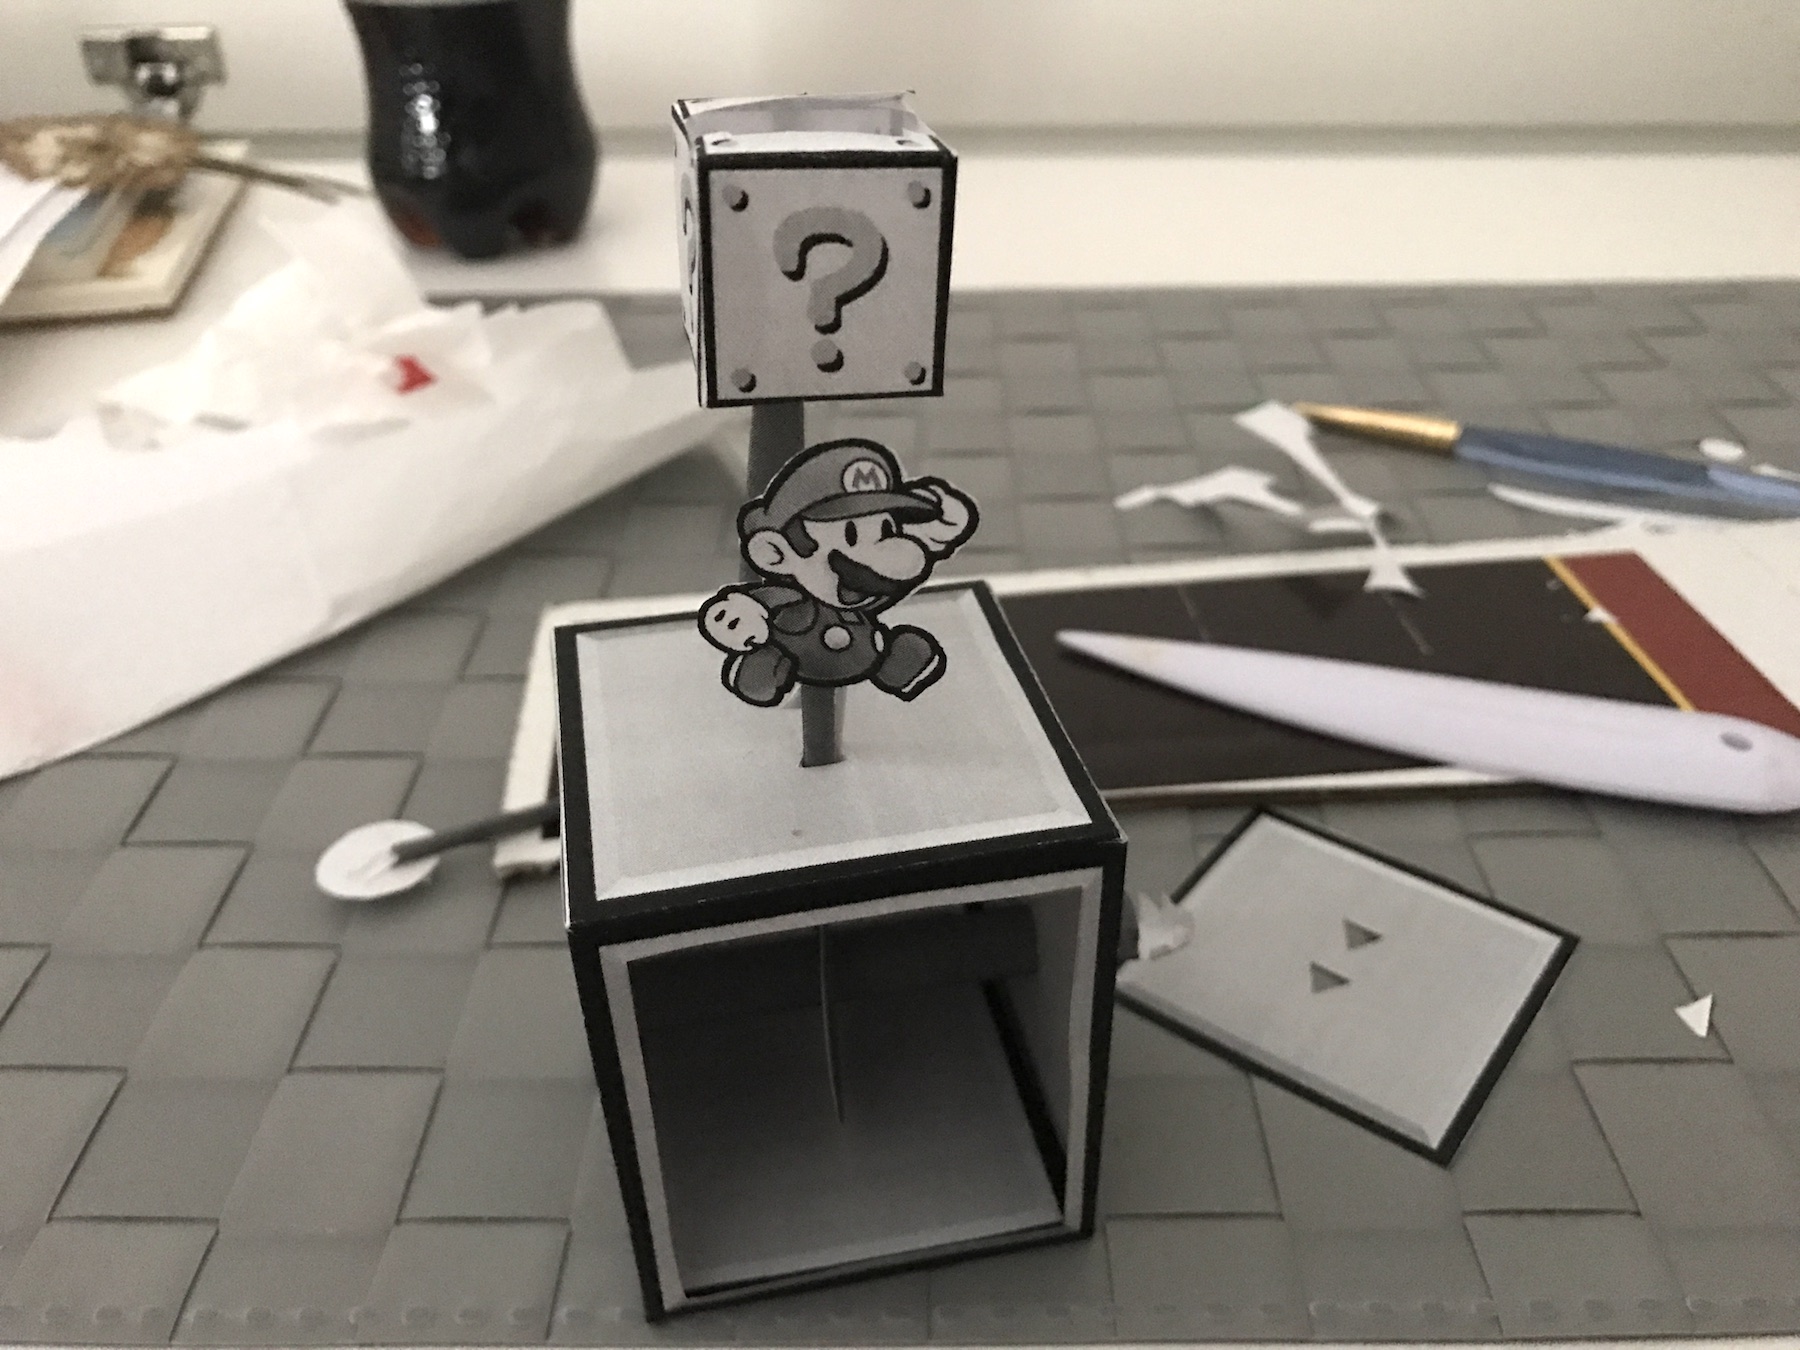
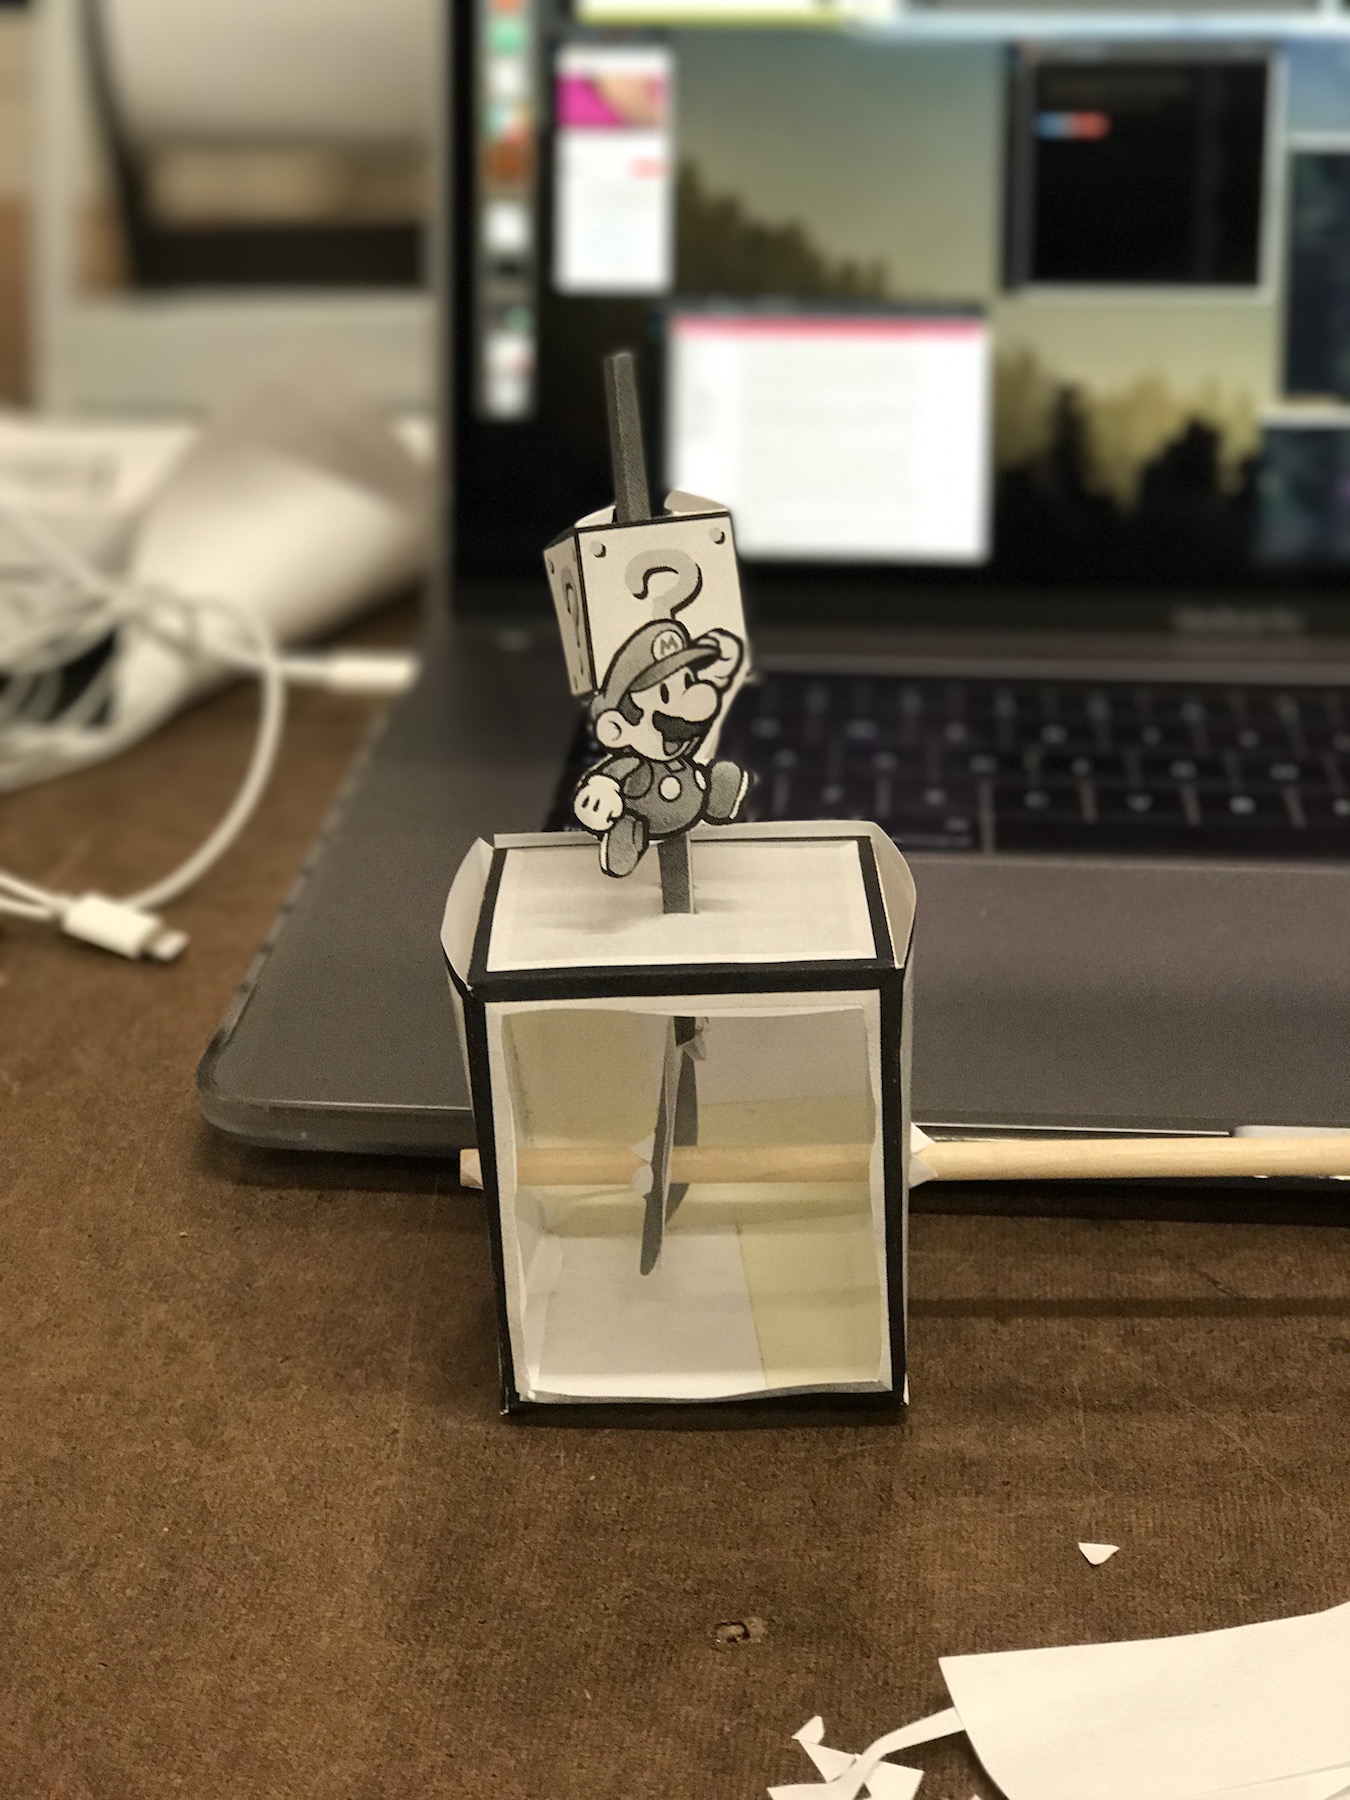
This is what I have right now.
Plan To Finish
I did not finish my goal this week. I feel disappointed. I also learned I have to plan my time and projects with a realistic standard. I plan to try more way to laser cut a box or an enclosure for the automata. Also I will spend time to think and design the automata for cardboard, rather than translate a design meant for paper to cardboard.
To be continued.
Week Two
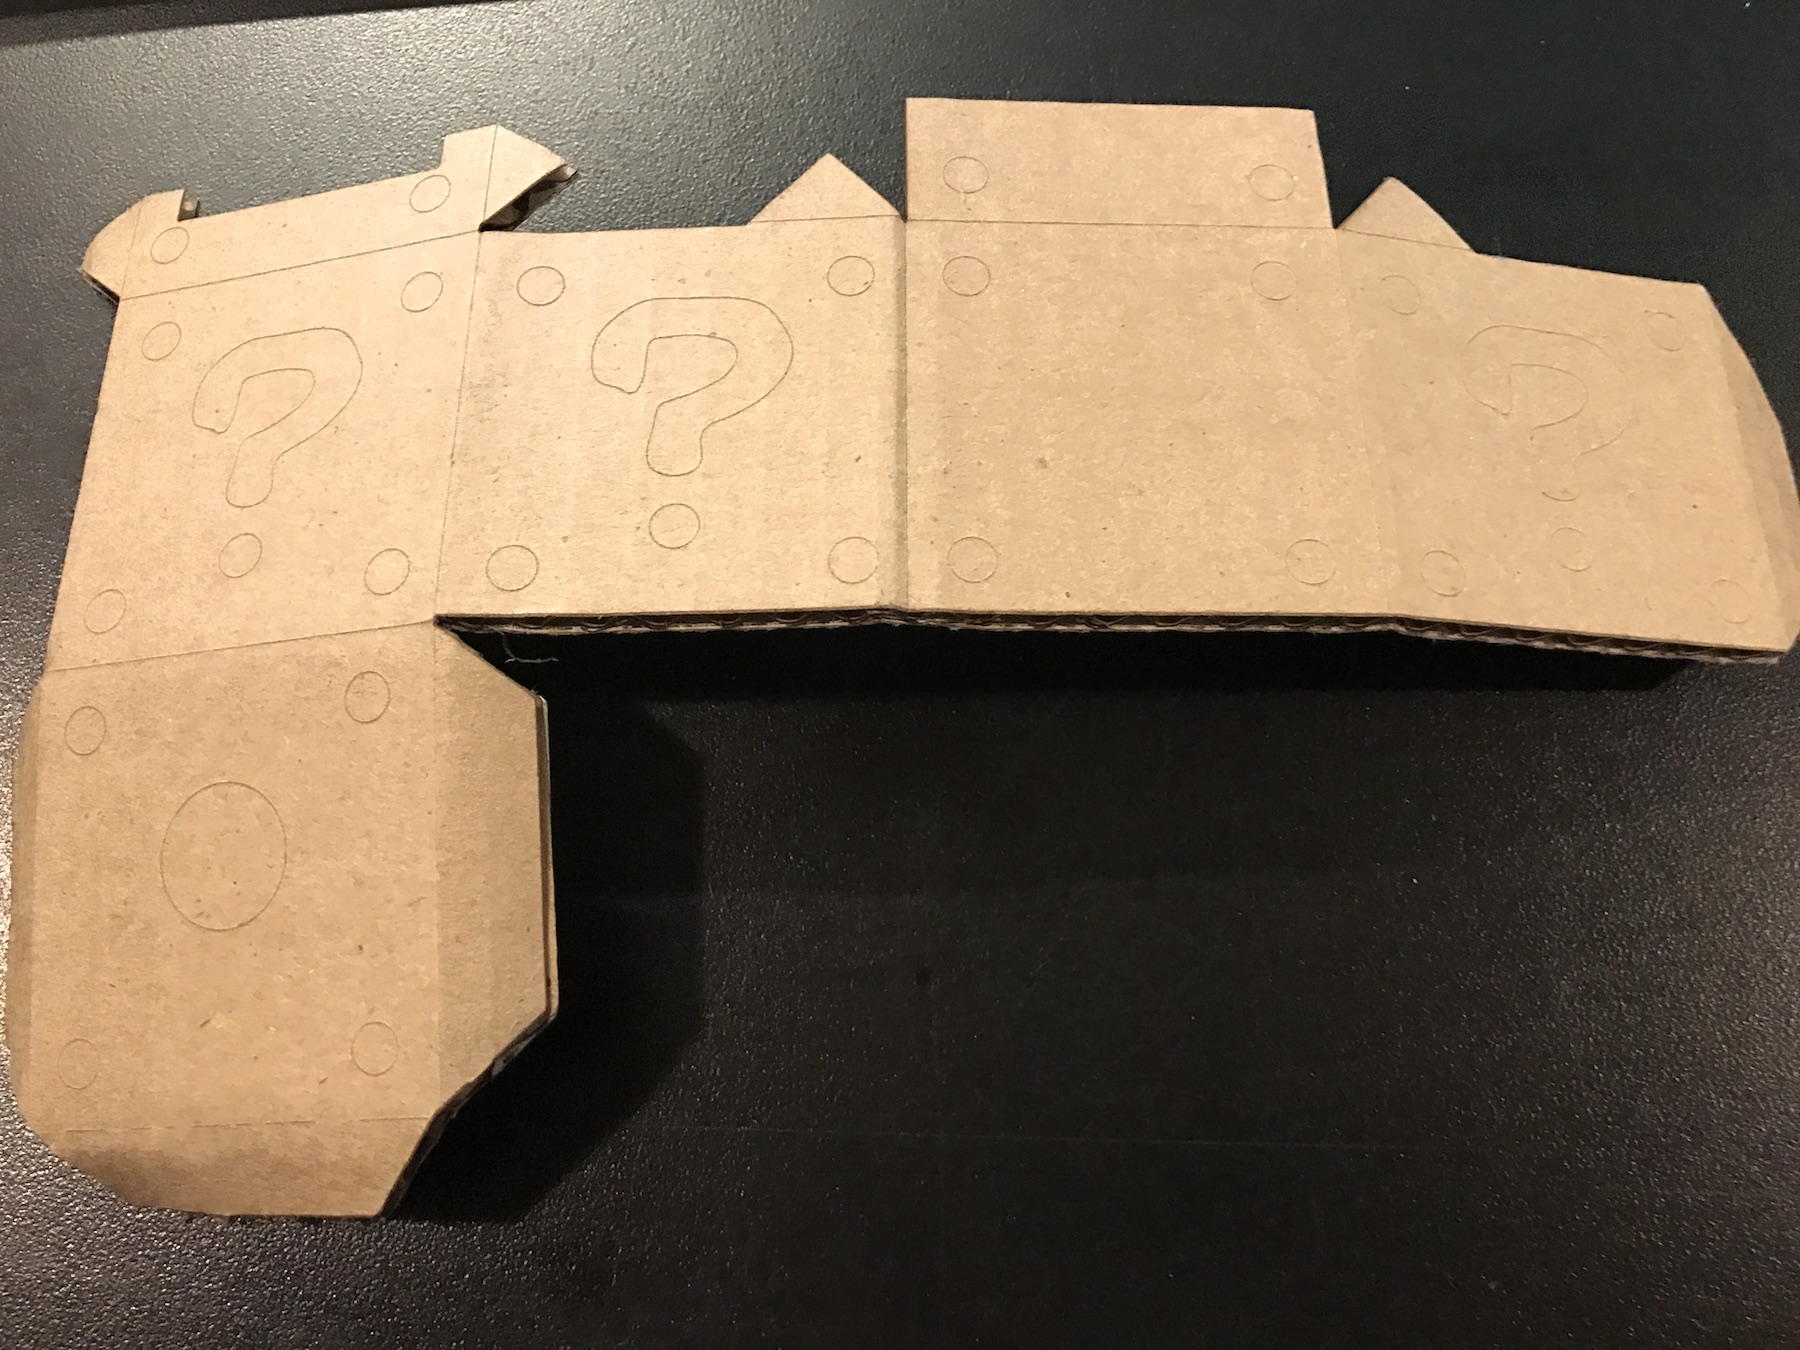
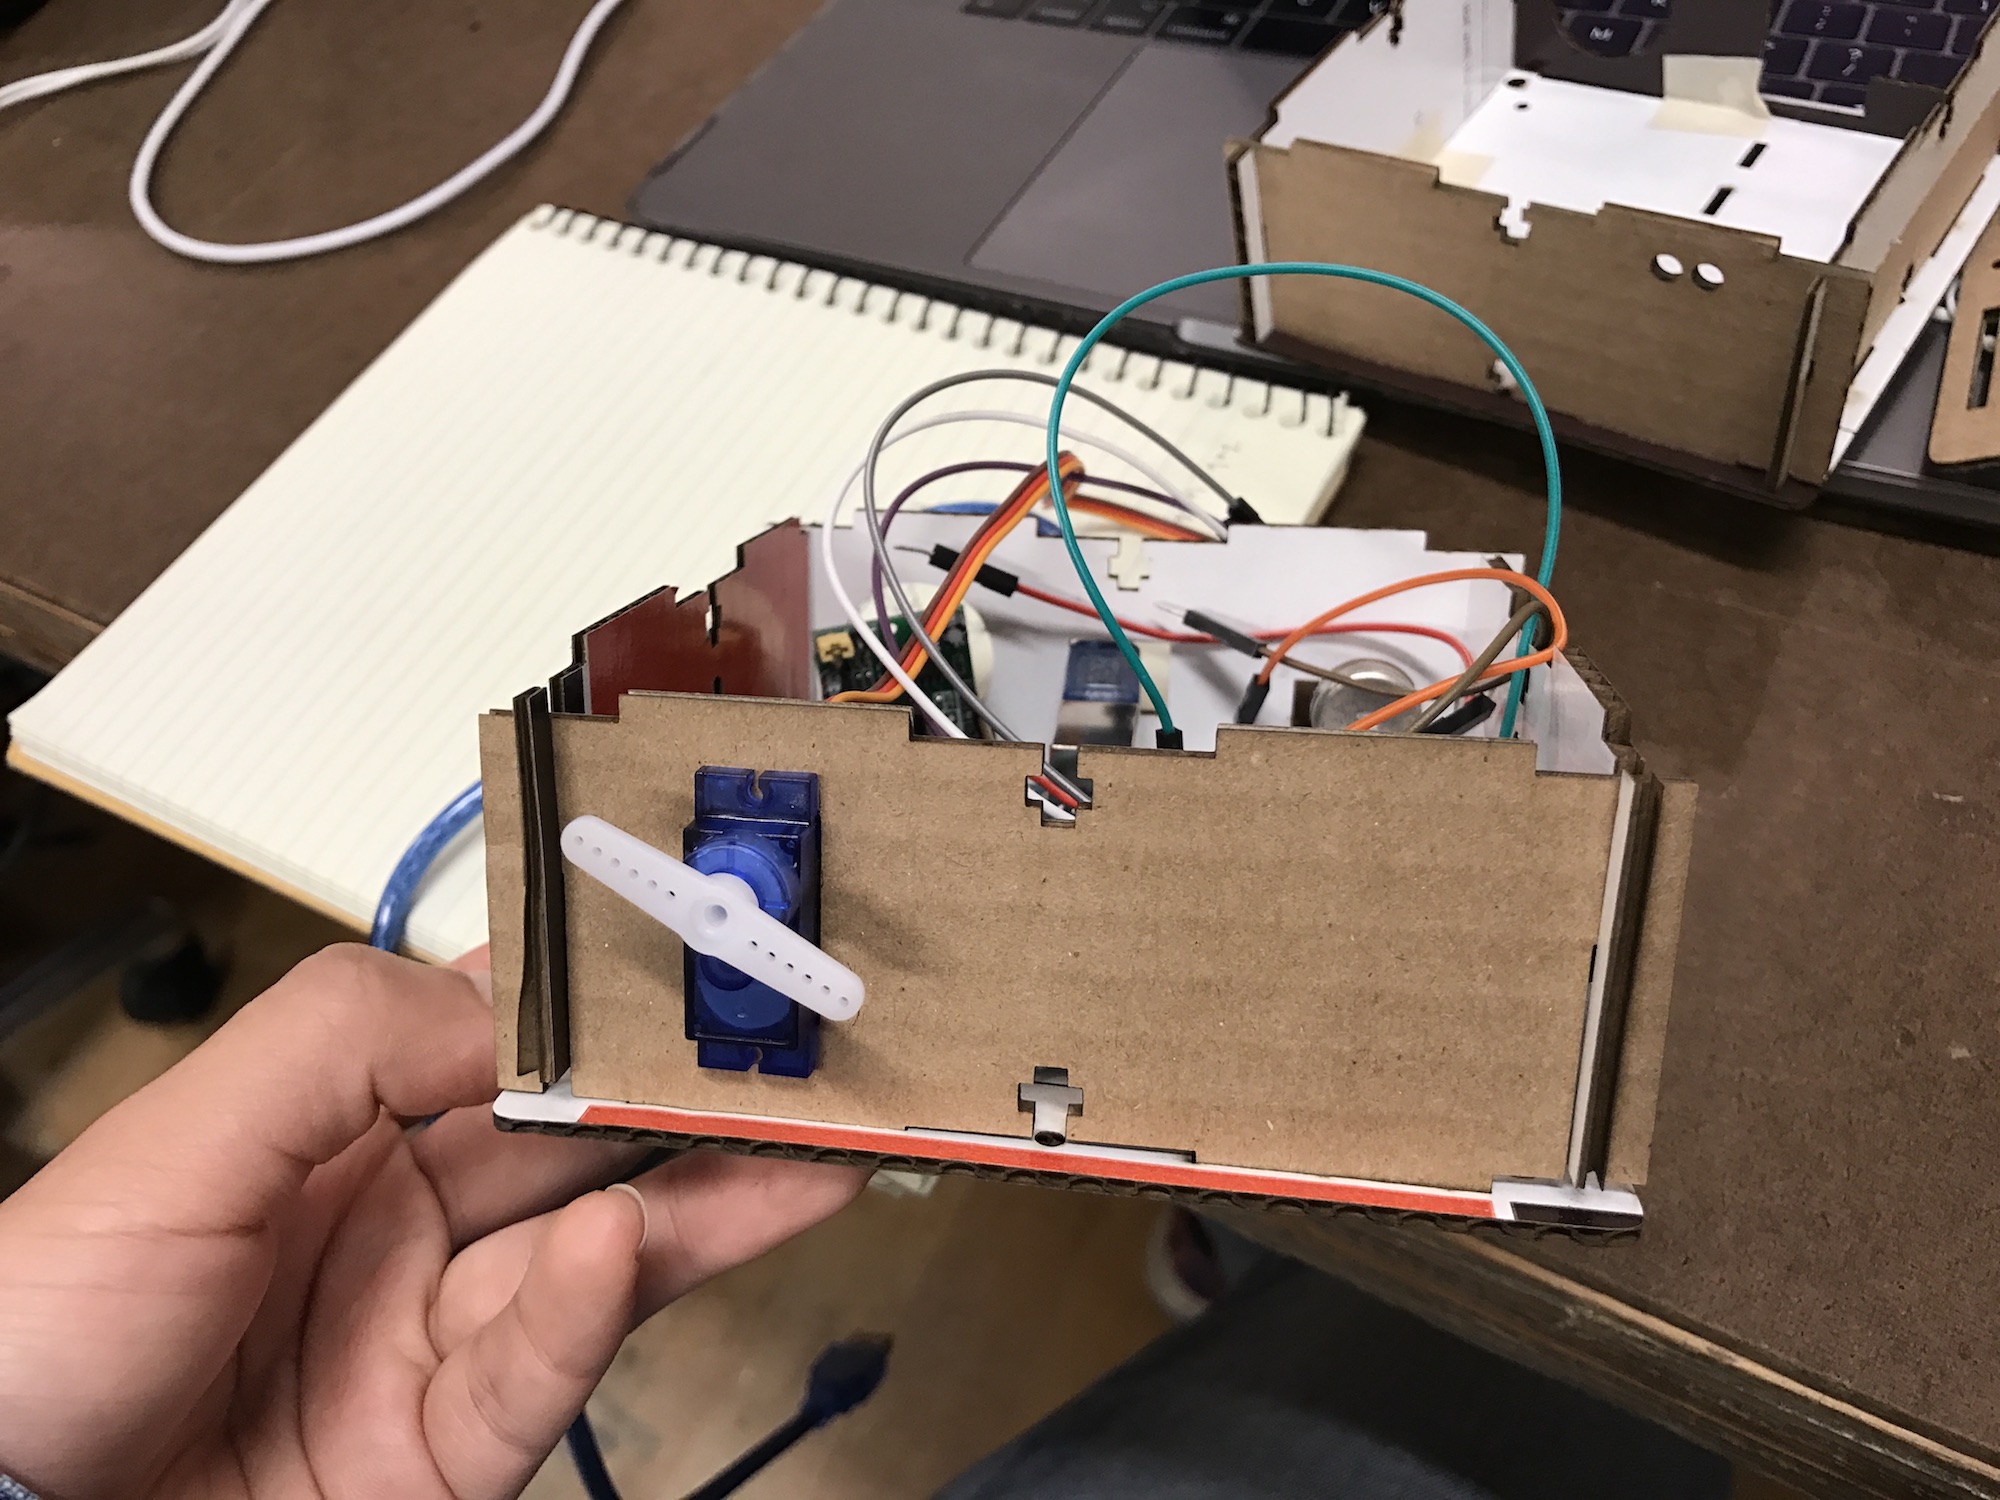
For this week, I want to finish the cardboard automata. Instead of using a lot of finger joints. I decided to use 4 deep finger joints to build the box and using 4 slots for adding the base and the top of the box. Also by adding 4 holes for screws, I can secure the box without glue.
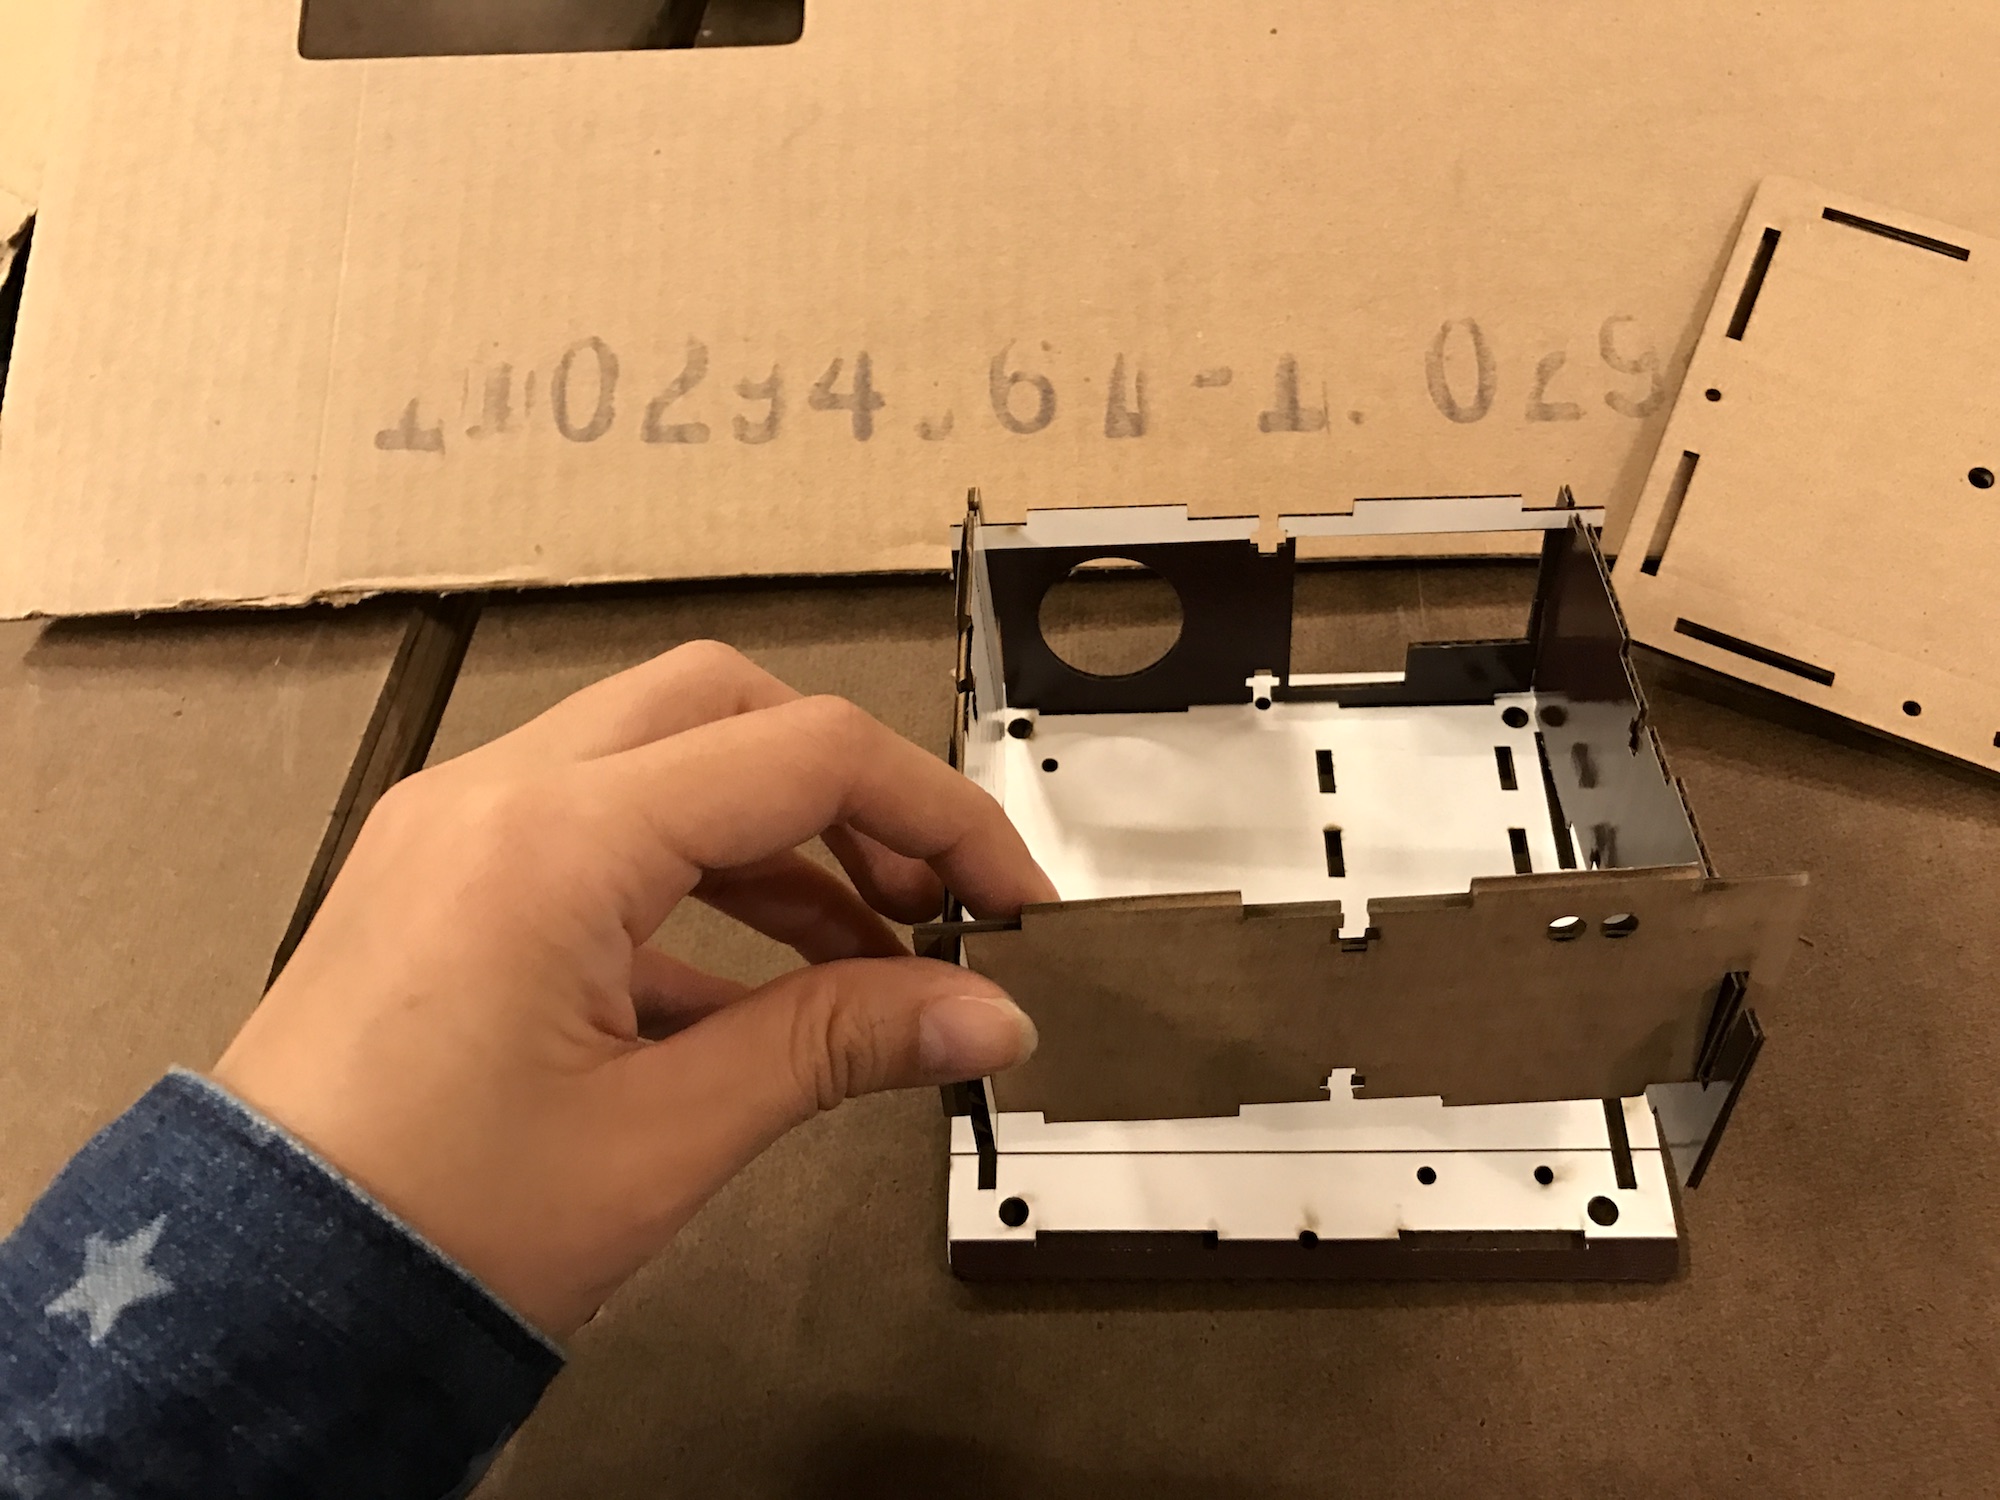

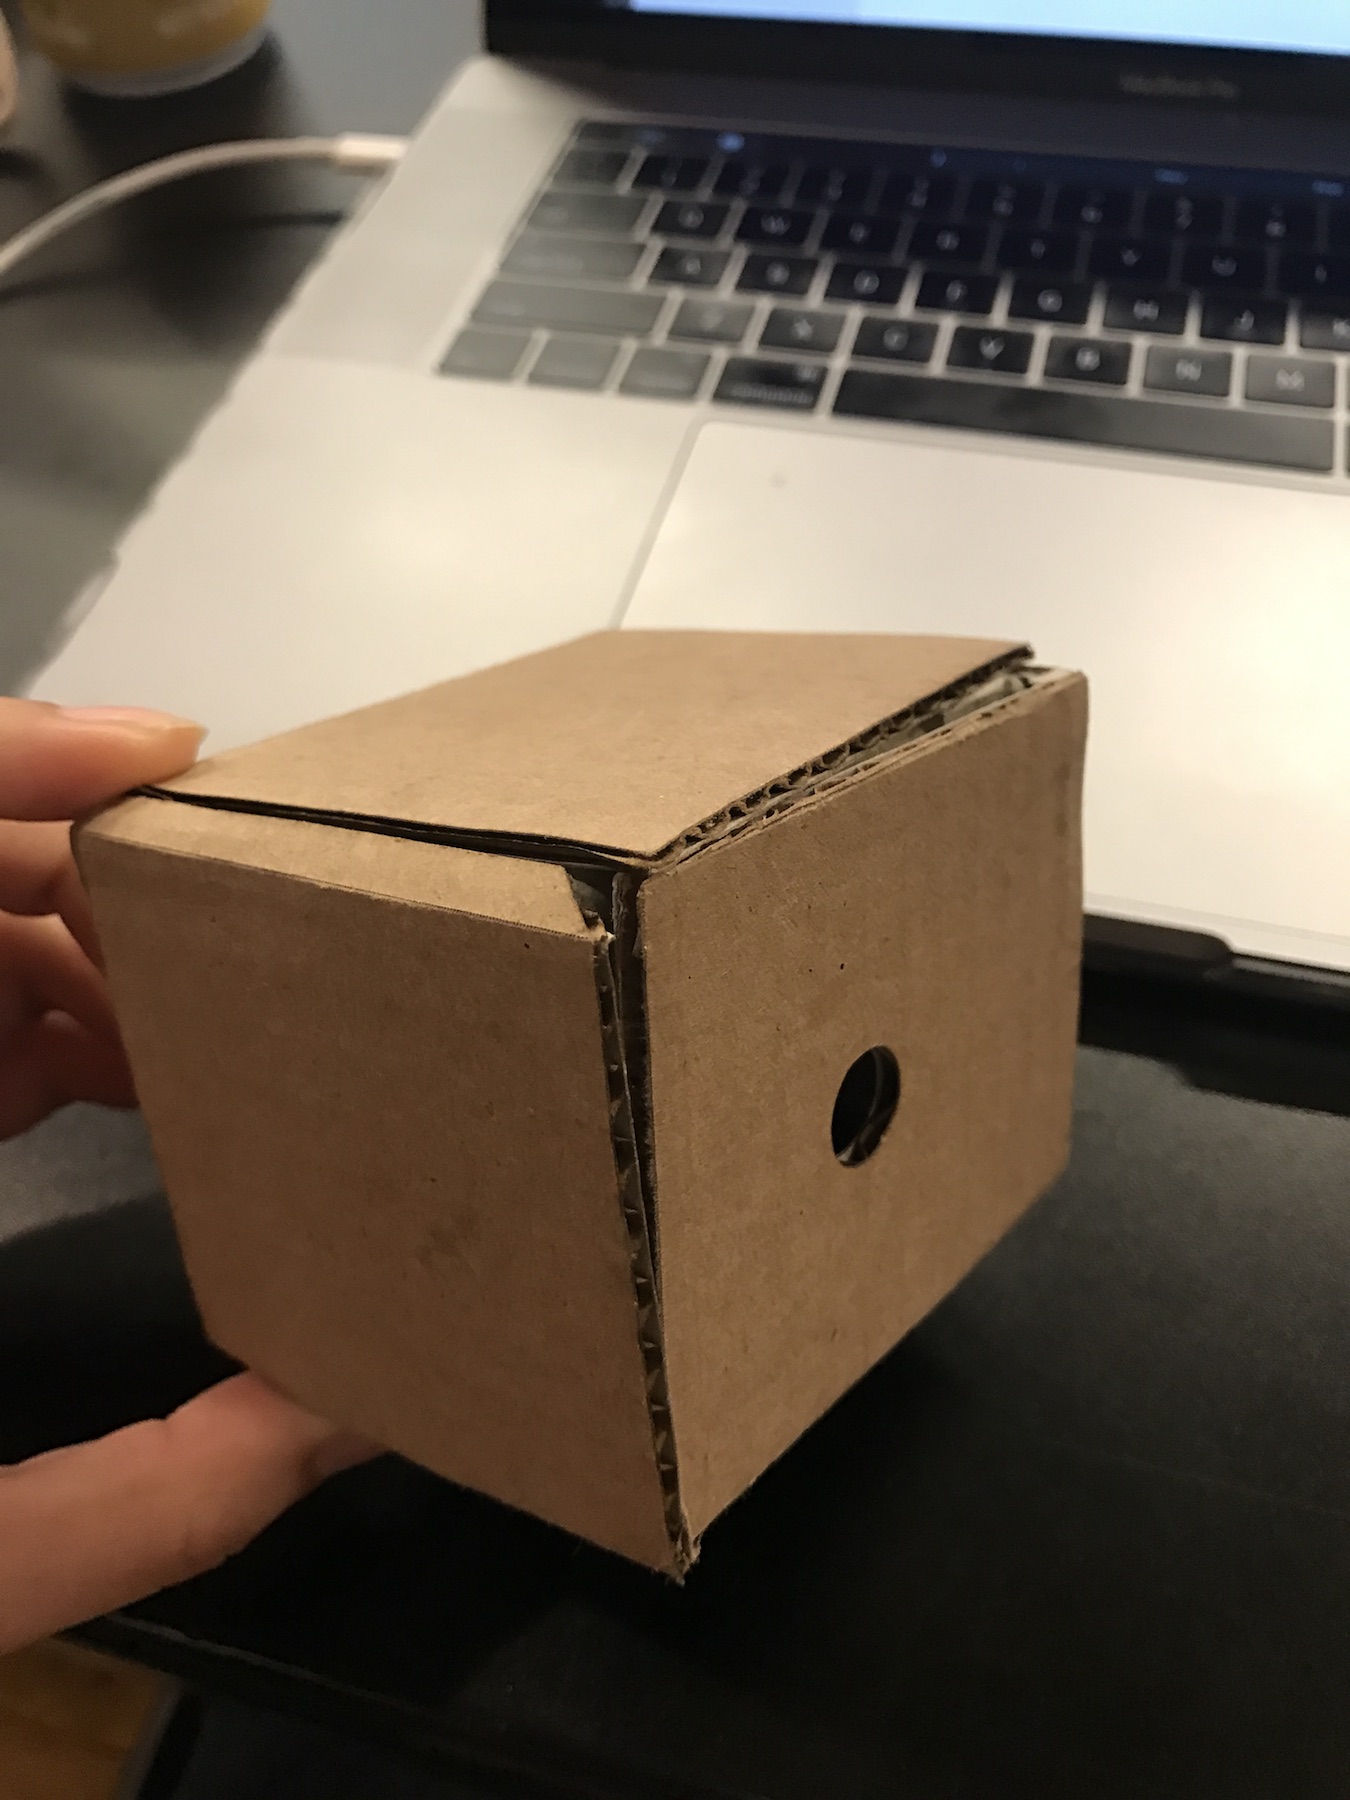
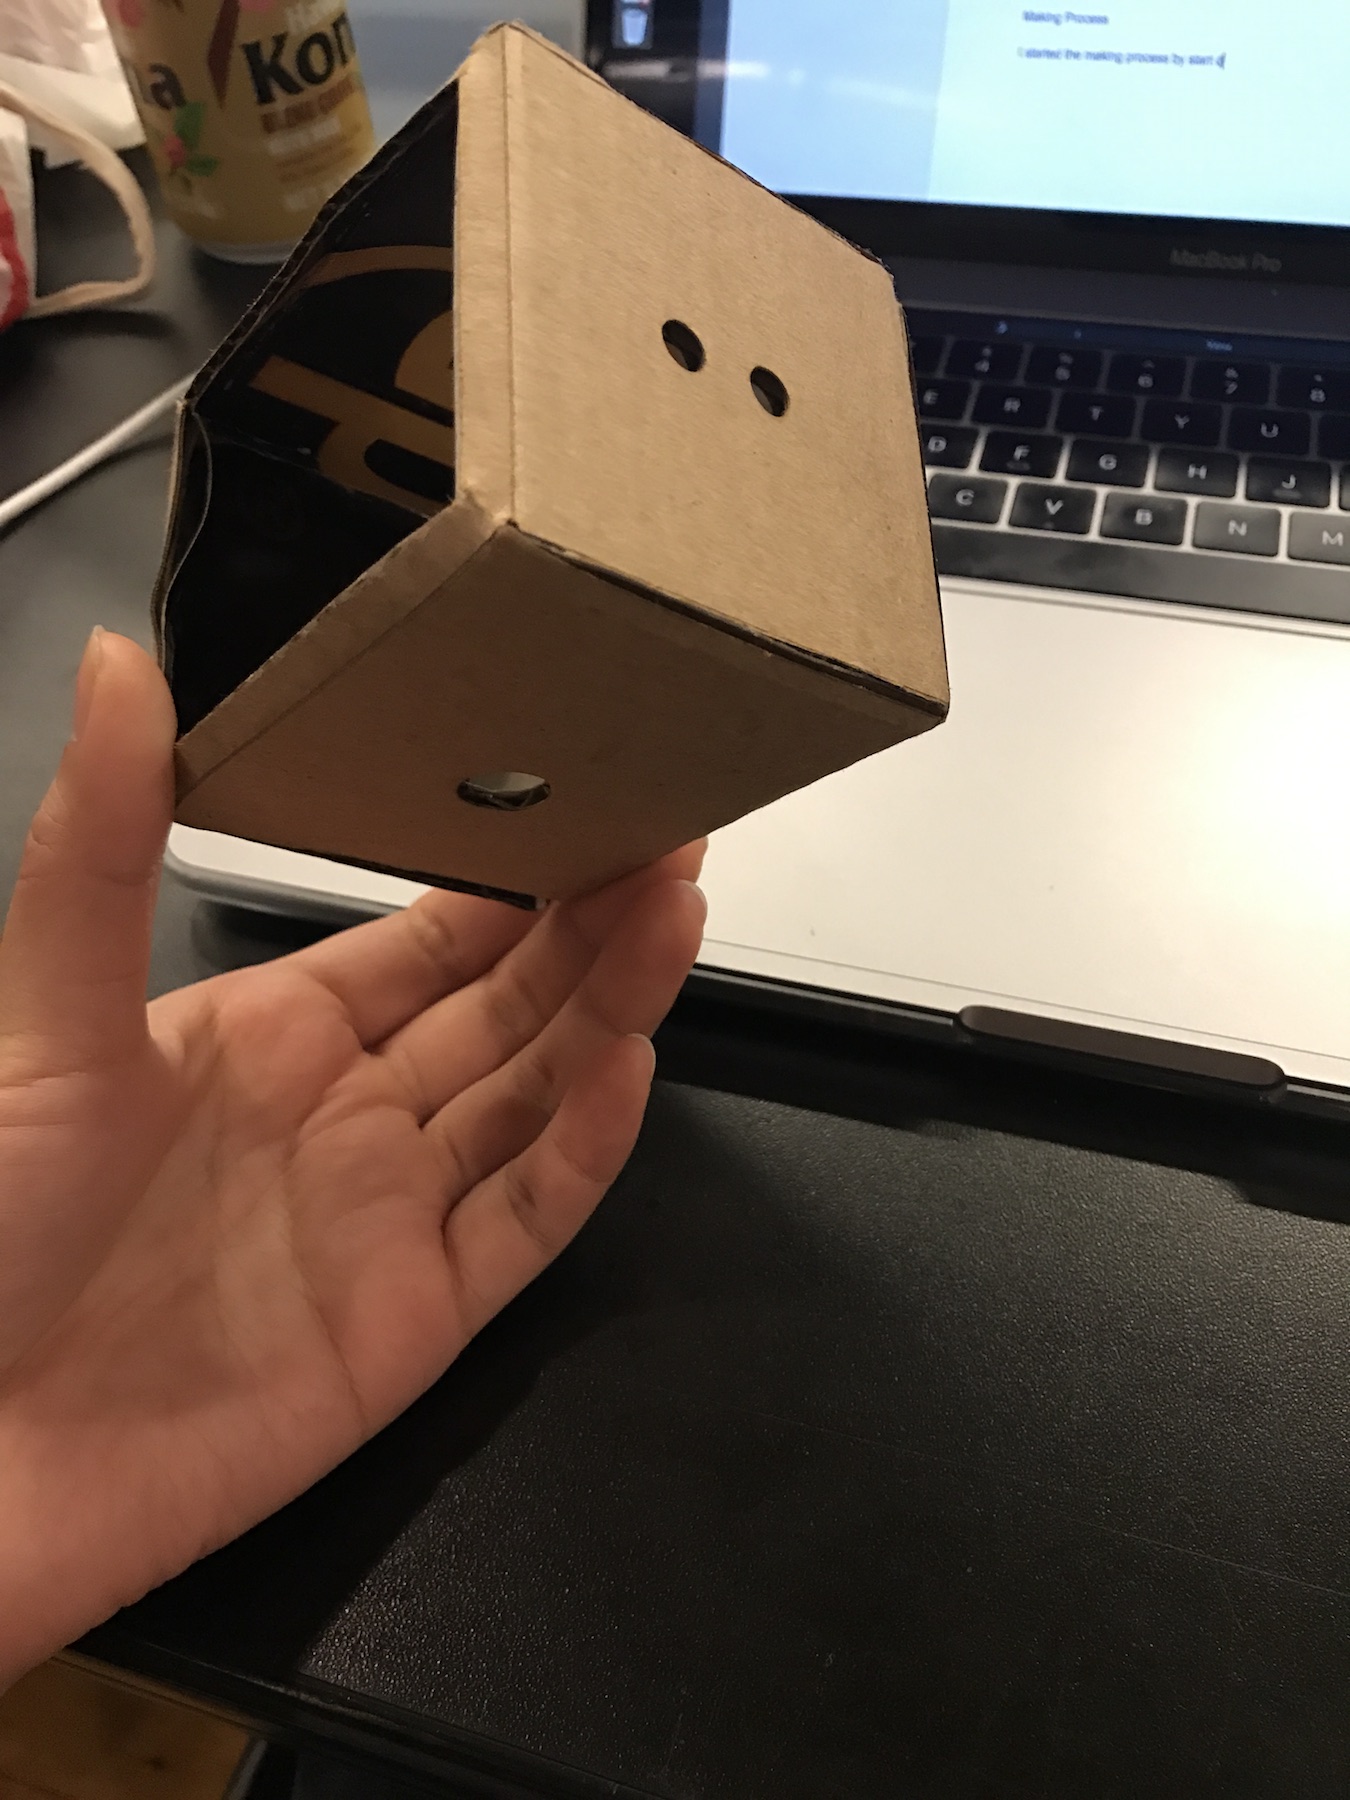
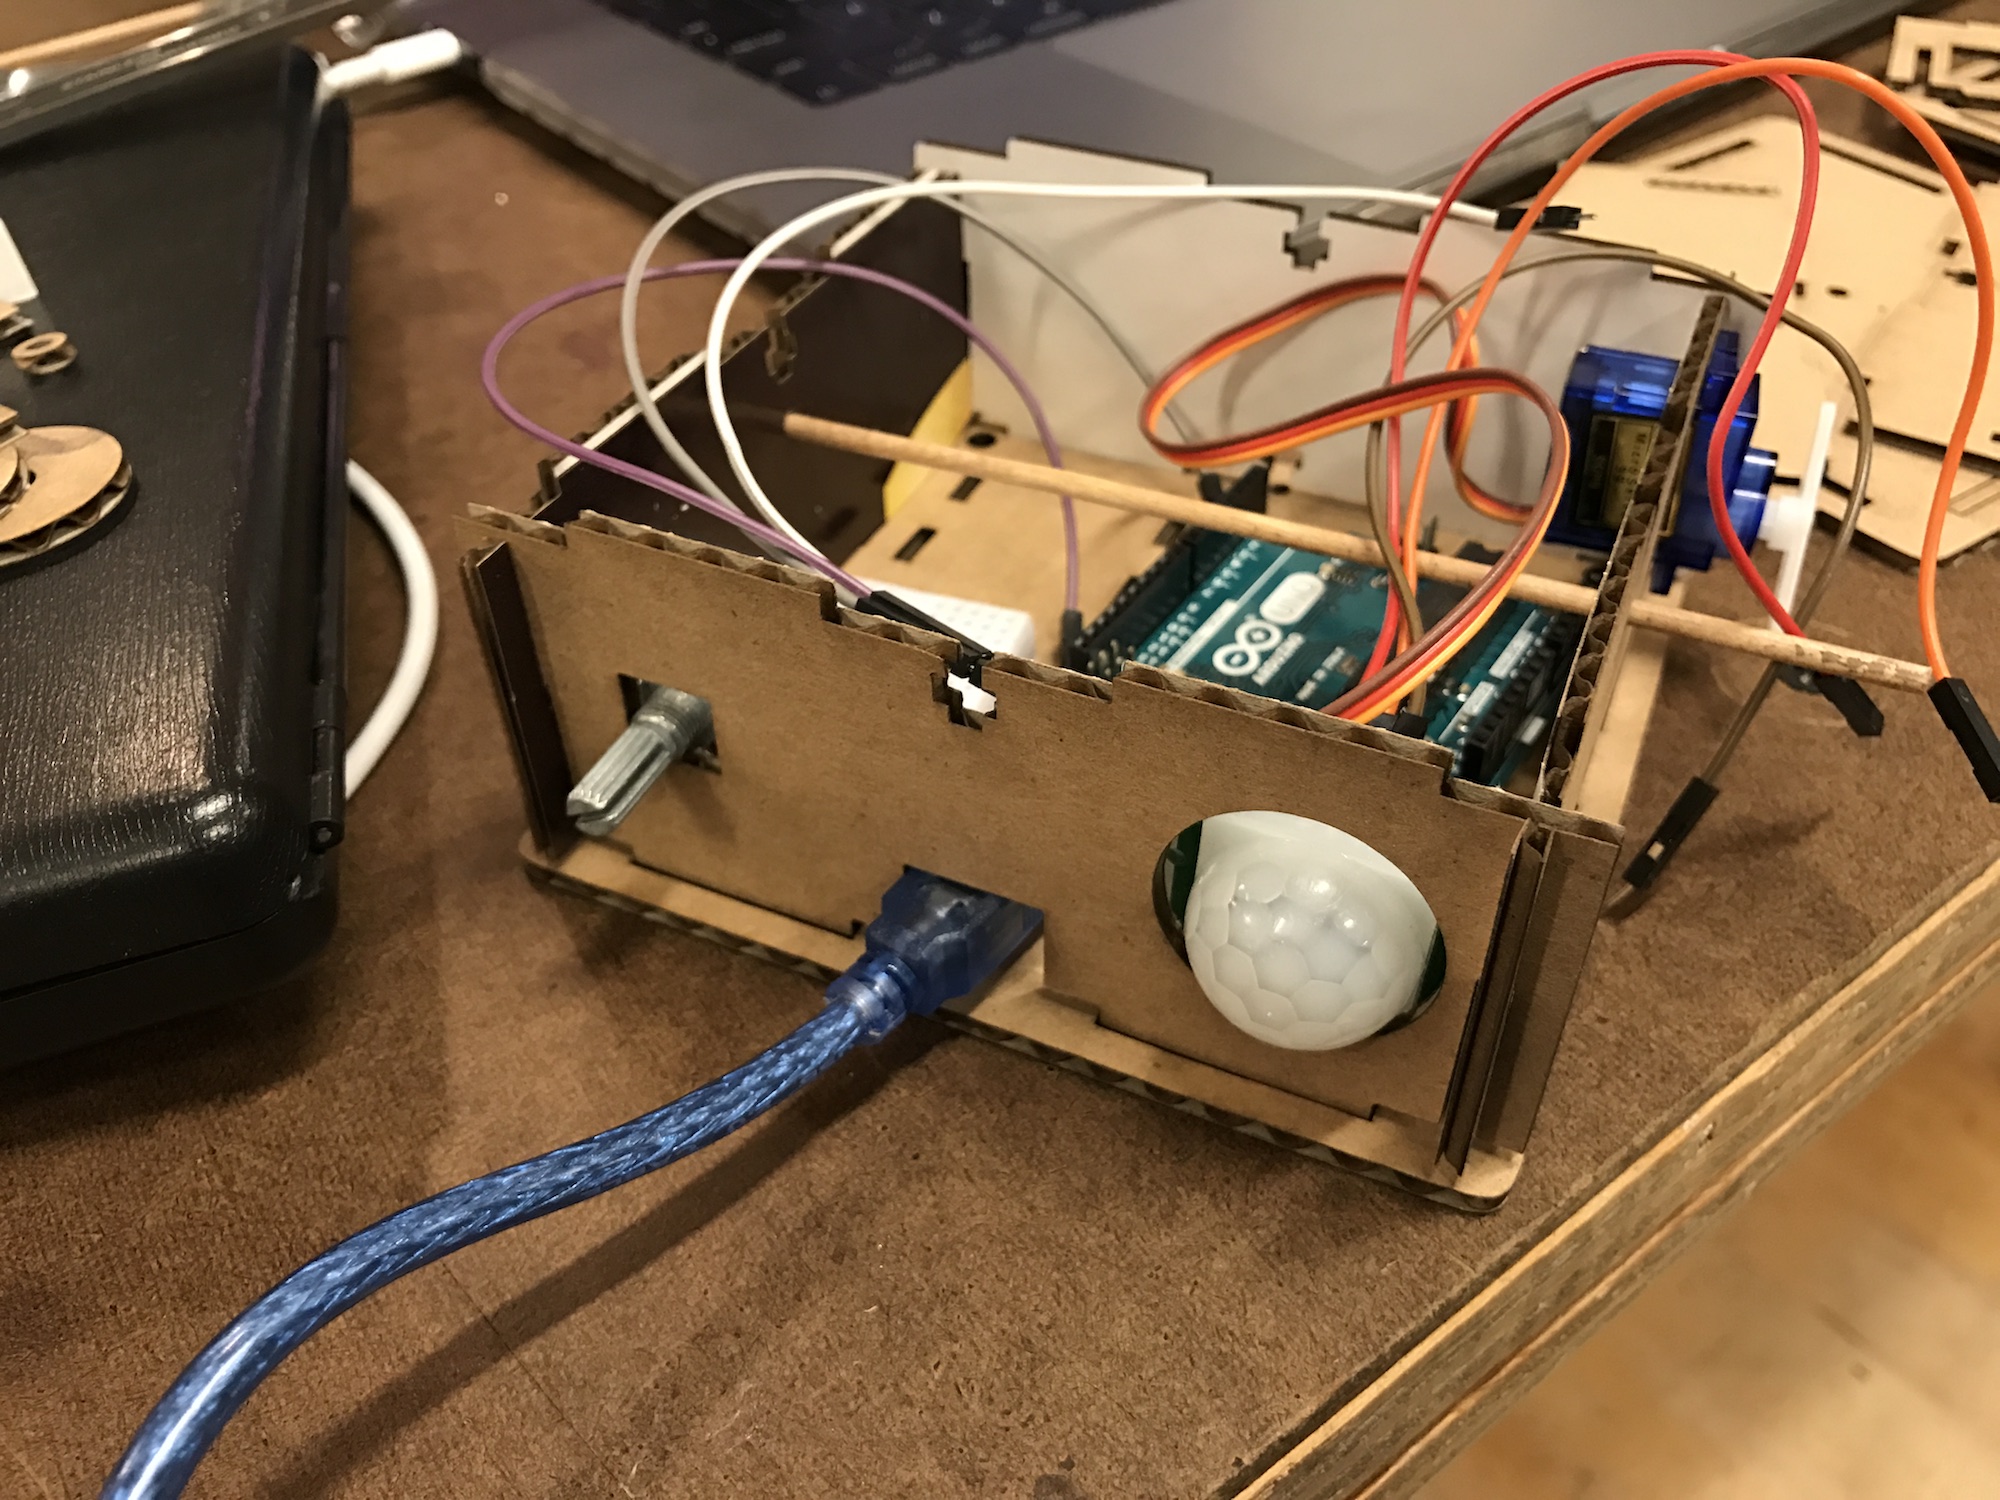
As shown above, the placement of USB cable, Servo, motion sensor, and potentiometer is not ideal. During the second iteration, I measured the size using digital caliper and updated the .ai file. The updated version looks more fitting for all of parts.
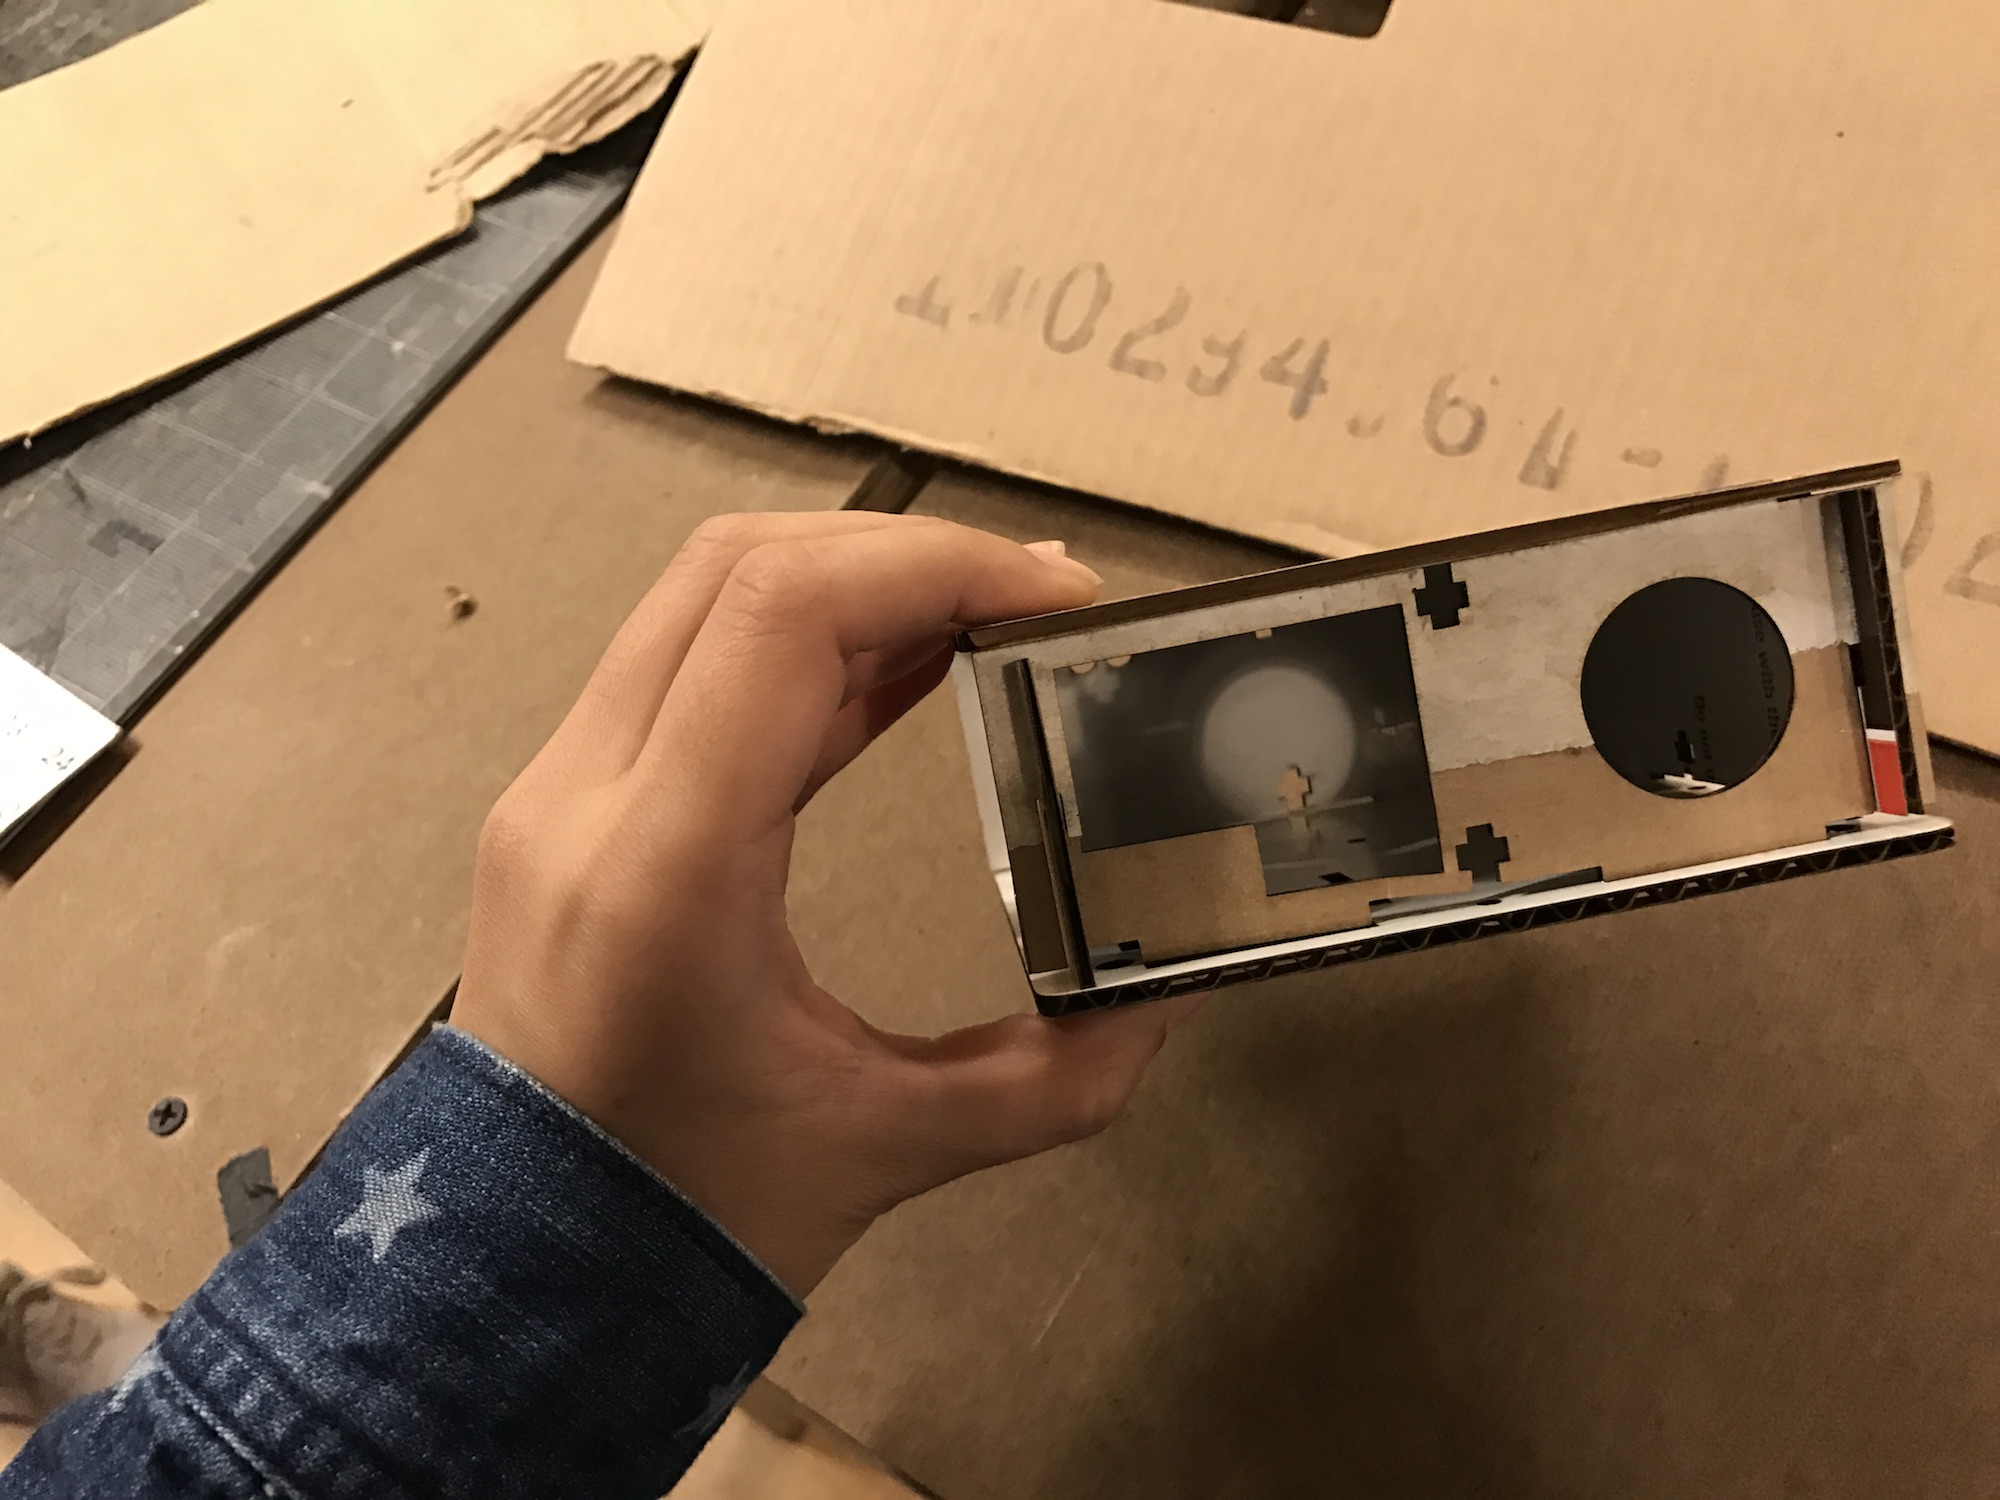
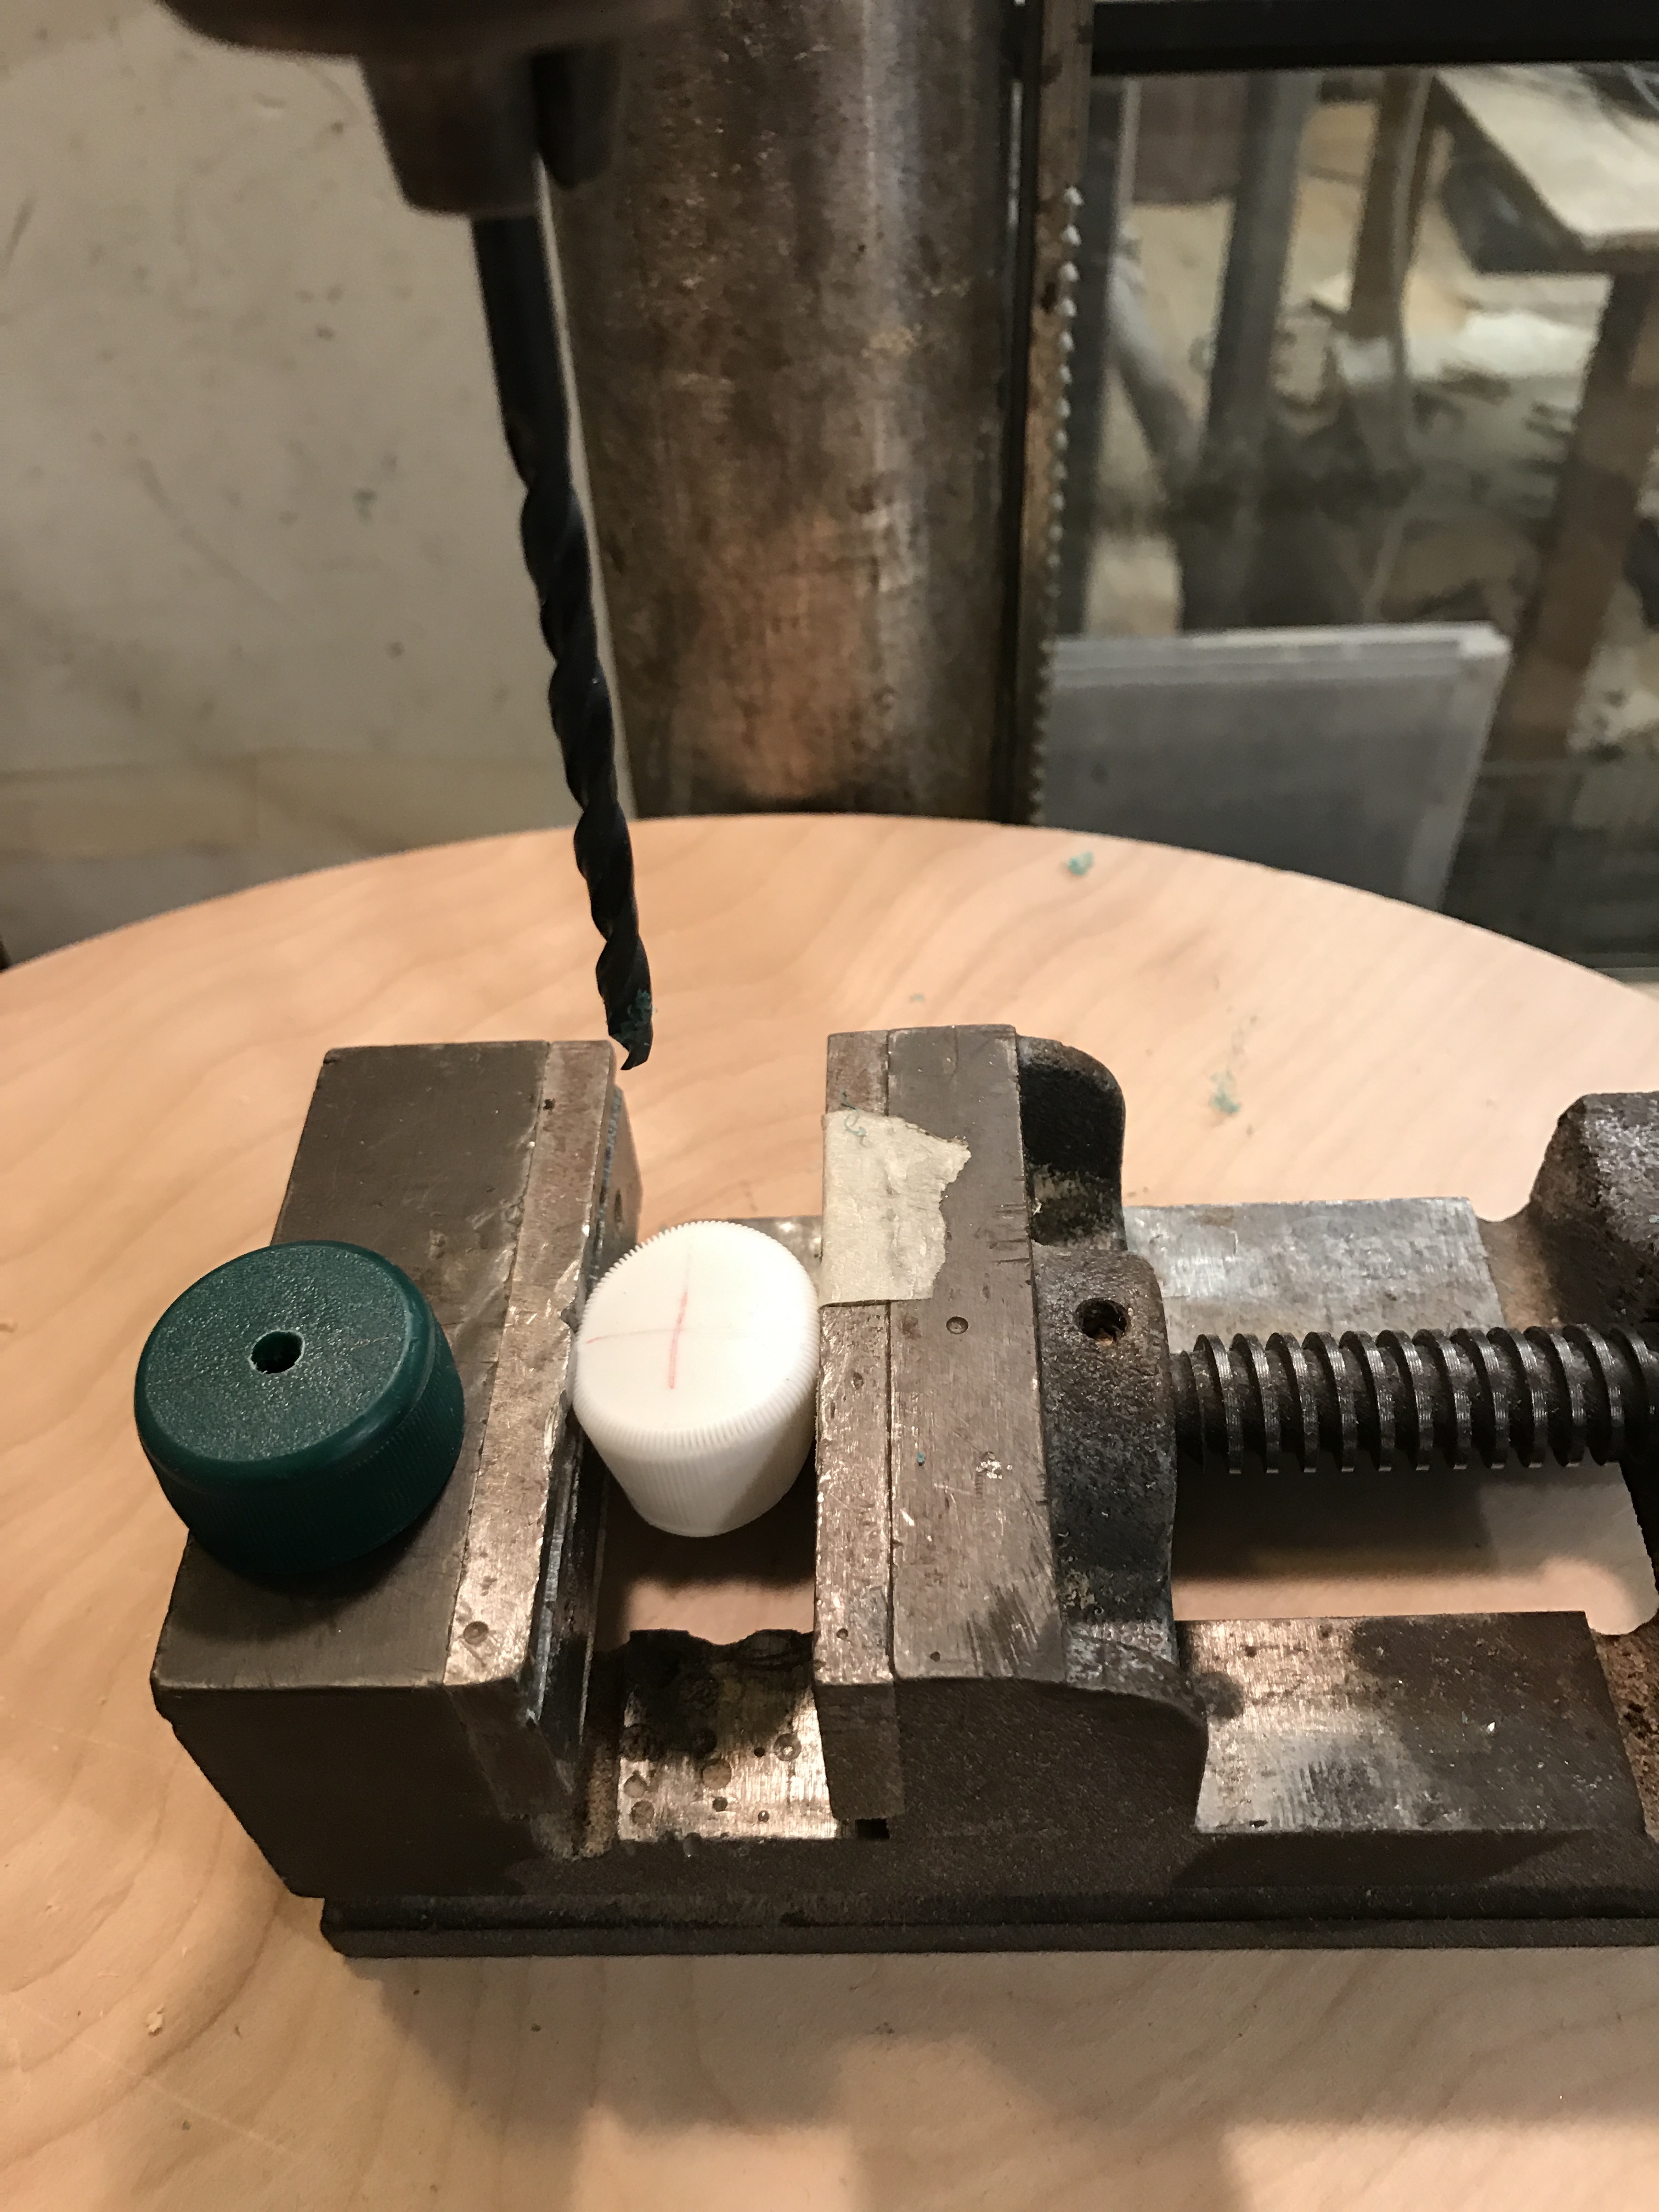
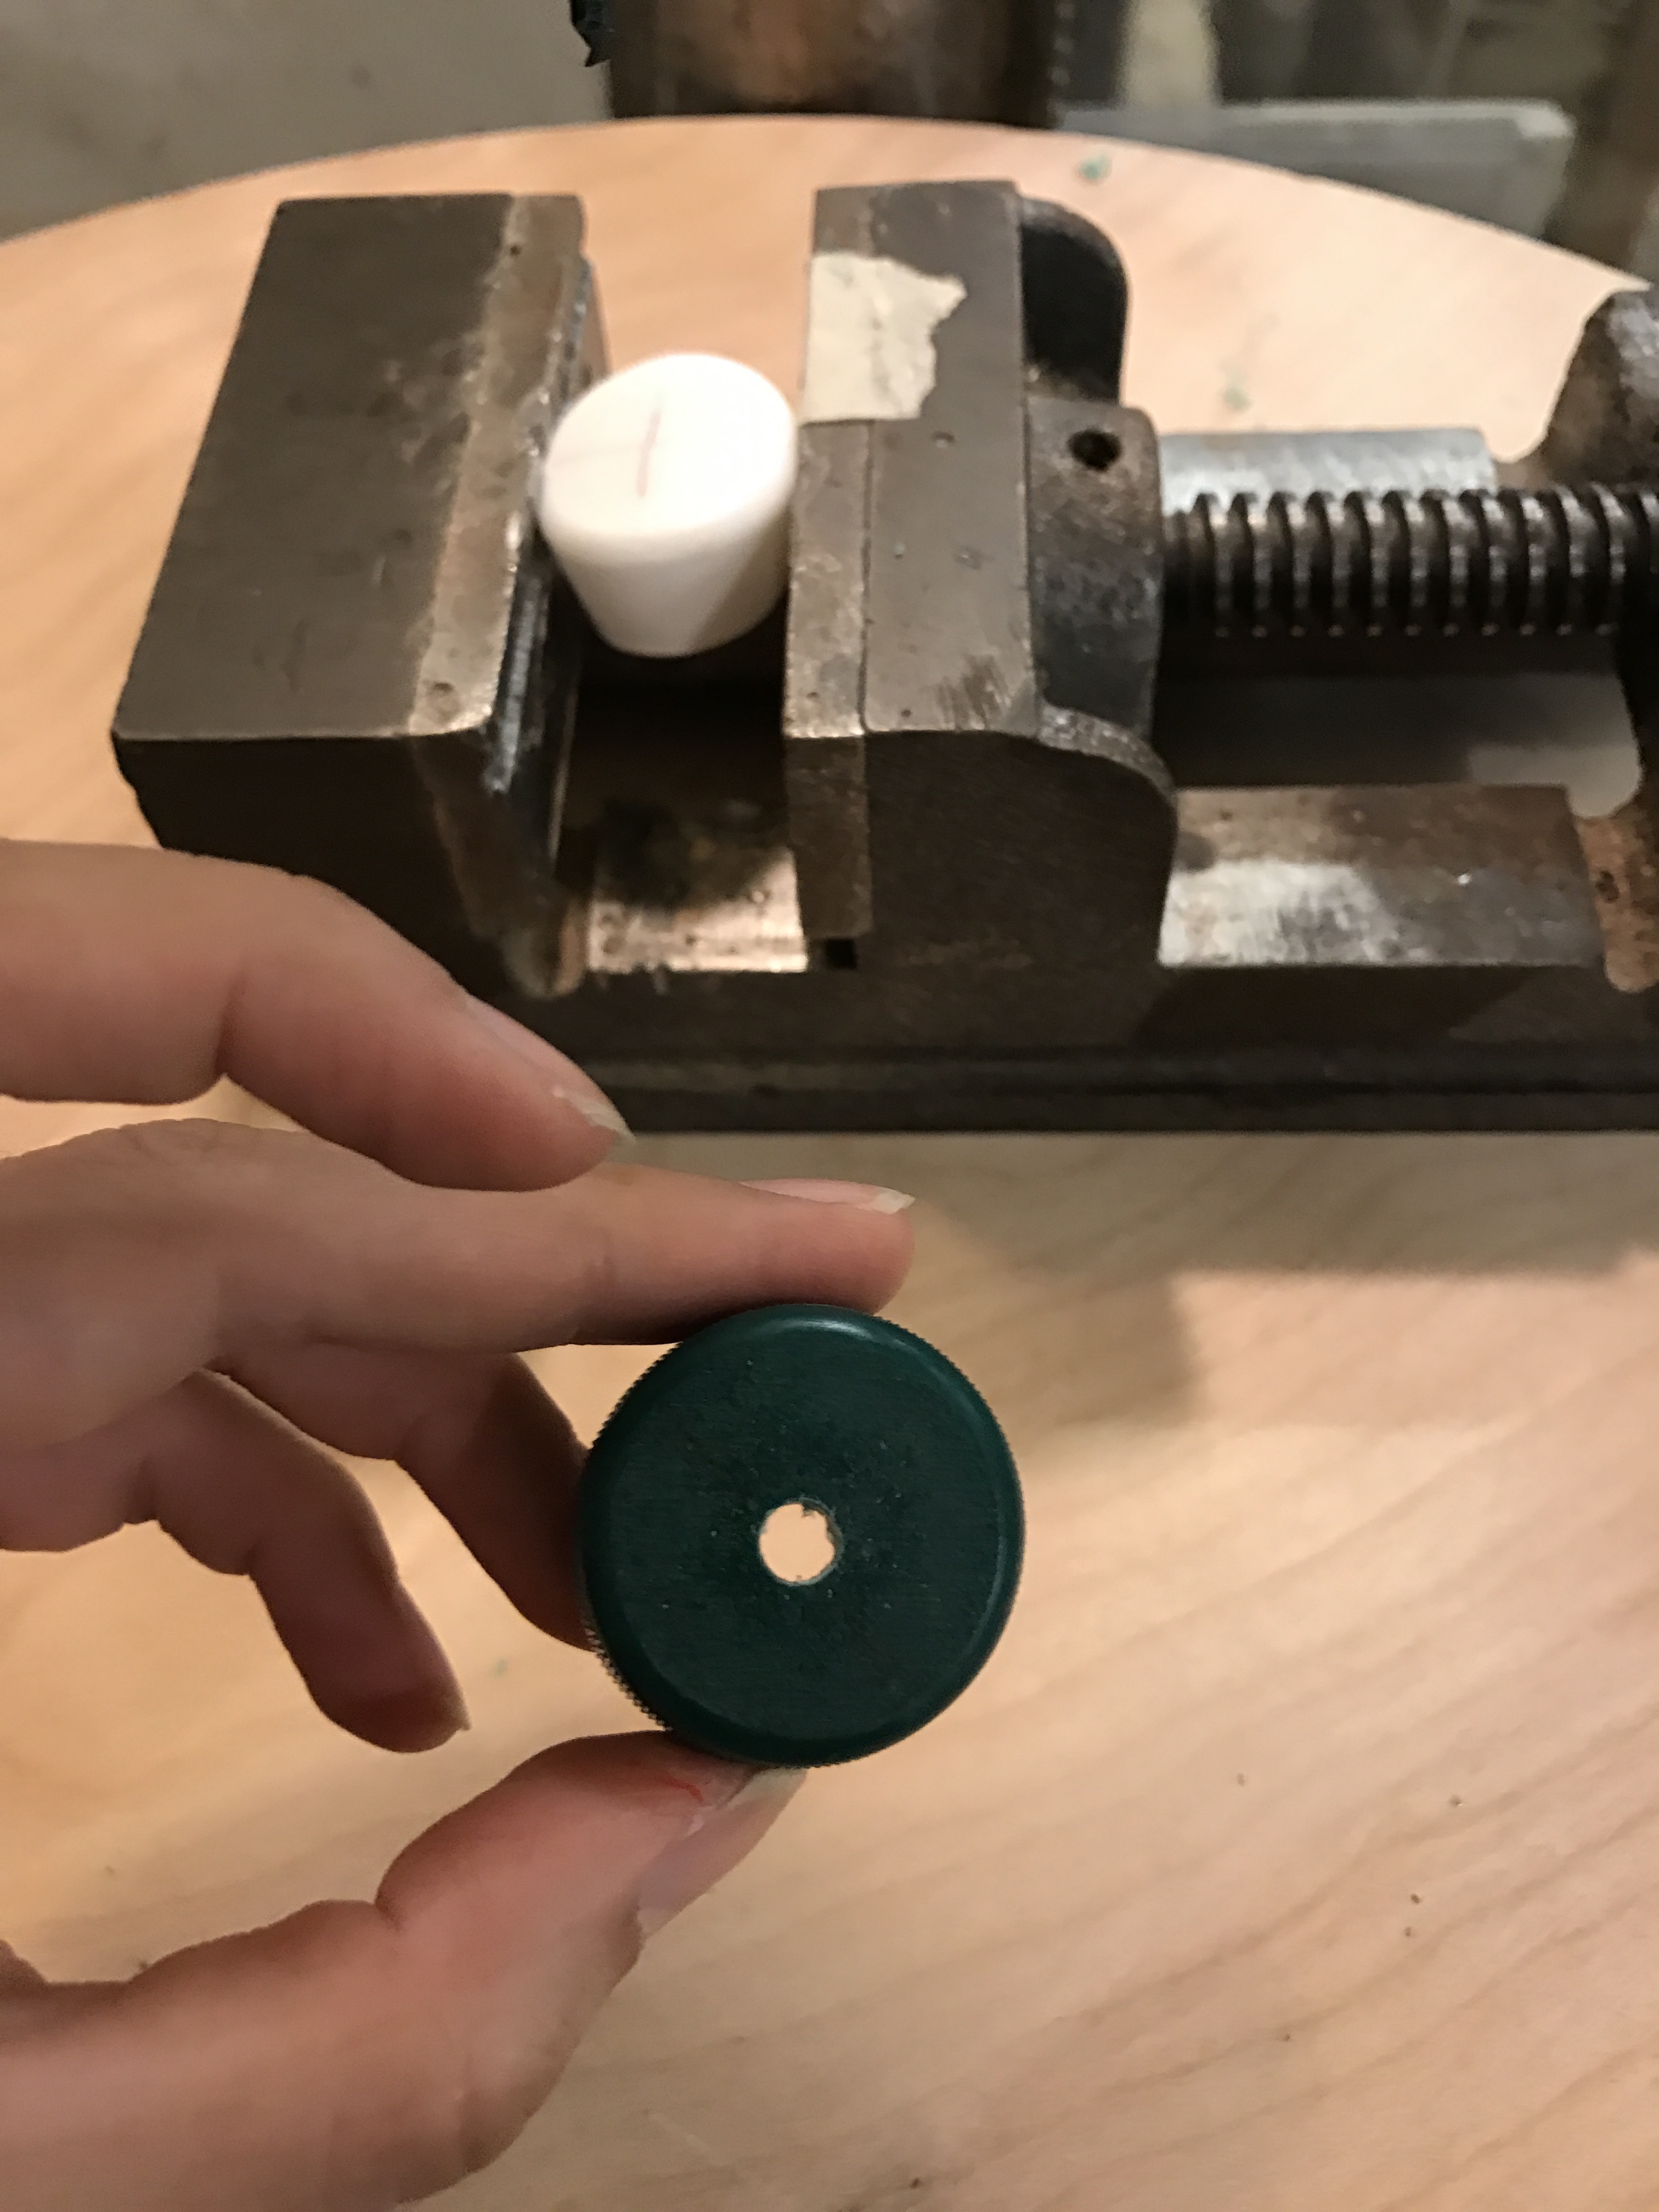
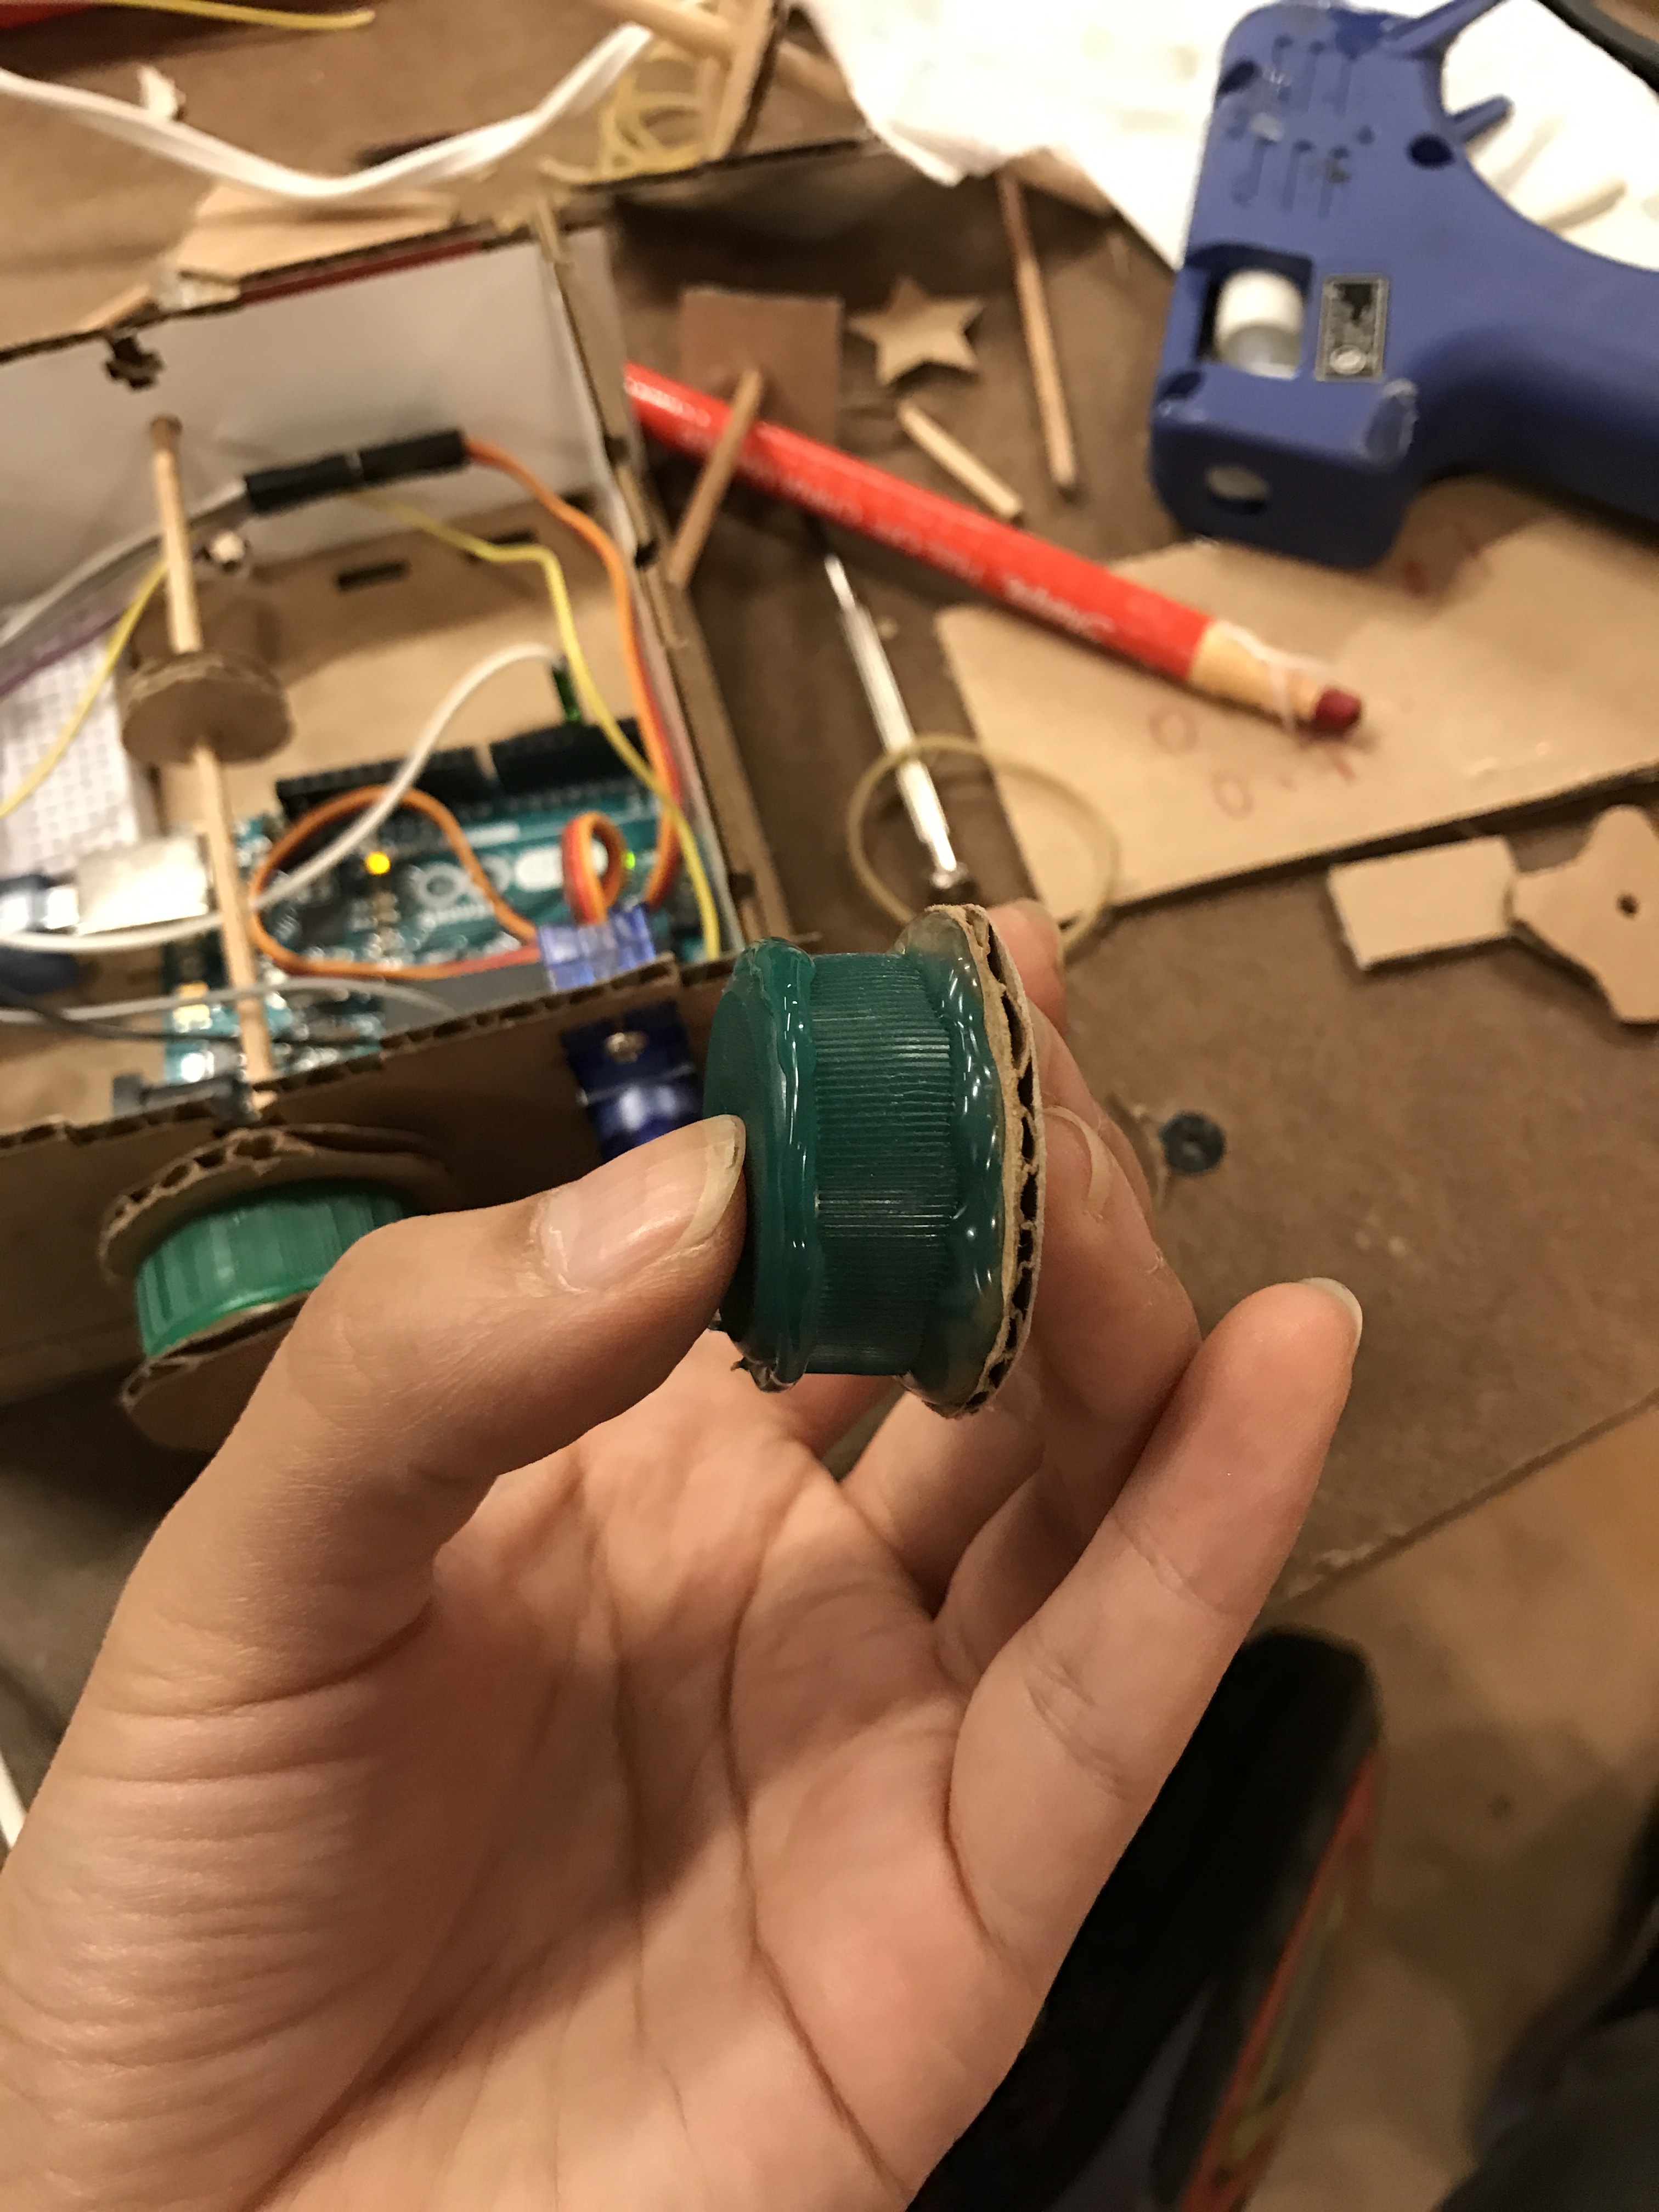
For the servo powered automata to work, I needed a way to drive the middle rod that has the cam attached. I initially tried to use cardboard as well, but it did not work well. Talking with people give me an idea of using bottle caps. Plastic bottle caps are designed to create friction when rotated on the side. It’s perfect for what I wanted to achieve. I used drill press to create a hole in the center of the cap for the servo and the middle rod.
After some adjustments, I have a jumping/turning cat automata.
Future Improvements
I want to make the box taller so the jumping motion can be more pronounced. Also I want to laser cut different shapes of the cam, so to test out different movements.